A rescue throw bag belongs in a trained paddling group’s safety kit, but buying one is only the start. The right bag is a floating line you can reach, throw and repack confidently in the places you paddle. For most river groups wanting a 20m bag, the HF Compact Classic is the balanced choice here; a shorter belt bag or a longer bank-side line serves a different plan.
If someone is in trouble, call 999 or 112 and ask for the Coastguard at sea. Keep yourself out of the water and do not attempt a rescue beyond your training. The RNLI water-safety advice puts calling for help and staying safe first. A throw bag does not replace a suitable buoyancy aid or a practised group rescue plan.
Our top picks

Best all-round river bag — HF Compact Classic 20m
A full-size river throw bag with a wide opening for repacking.

Budget 20m option — Lomo Kayak Throw Line 20m
A practical 20m line without paying for extra carry features.

Short belt-carried option — Lomo Kayak Throw Line 15m with Belt
Paddlers who want the bag accessible on an adjustable belt.

Longer bank-side reach — NRS Standard Rescue Throw Bag
A longer, bulkier bag for a suitable river-bank position.
On this page
- Throw bags compared
- Four rescue throw bags in detail
- Choose length, rope and carry method
- River and sea: different rescue plans
- Training, carrying and care
- The bottom line
- Frequently Asked Questions
Throw bags compared
| Throw bag | Line | Best for | Main trade-off |
|---|---|---|---|
| HF Compact Classic 20m | 20m; 8.5mm floating rope | A full-size river throw bag with a wide opening for repacking | Larger and heavier than a short belt-carried bag. |
| Lomo Kayak Throw Line 20m | 20m; 8mm floating polypropylene | A practical 20m line without paying for extra carry features | Check where it will live on your boat; this version has no waist belt. |
| Lomo Kayak Throw Line 15m with Belt | 15m; 8mm floating polypropylene | Paddlers who want the bag accessible on an adjustable belt | The shorter line gives less reach; practise the release and carry position. |
| NRS Standard Rescue Throw Bag | About 23m; Approx. 9.5mm floating polypropylene | A longer, bulkier bag for a suitable river-bank position | Extra rope adds bulk and is not automatically easier to throw accurately. |
Line length is not a ranking on its own. A bag that is hard to reach or throw accurately is a poor match even if it carries more rope. These are floating-line throw bags for trained use, not towing lines or replacements for a lifejacket.
Four rescue throw bags in detail
HF Compact Classic 20m — A full-size river choice
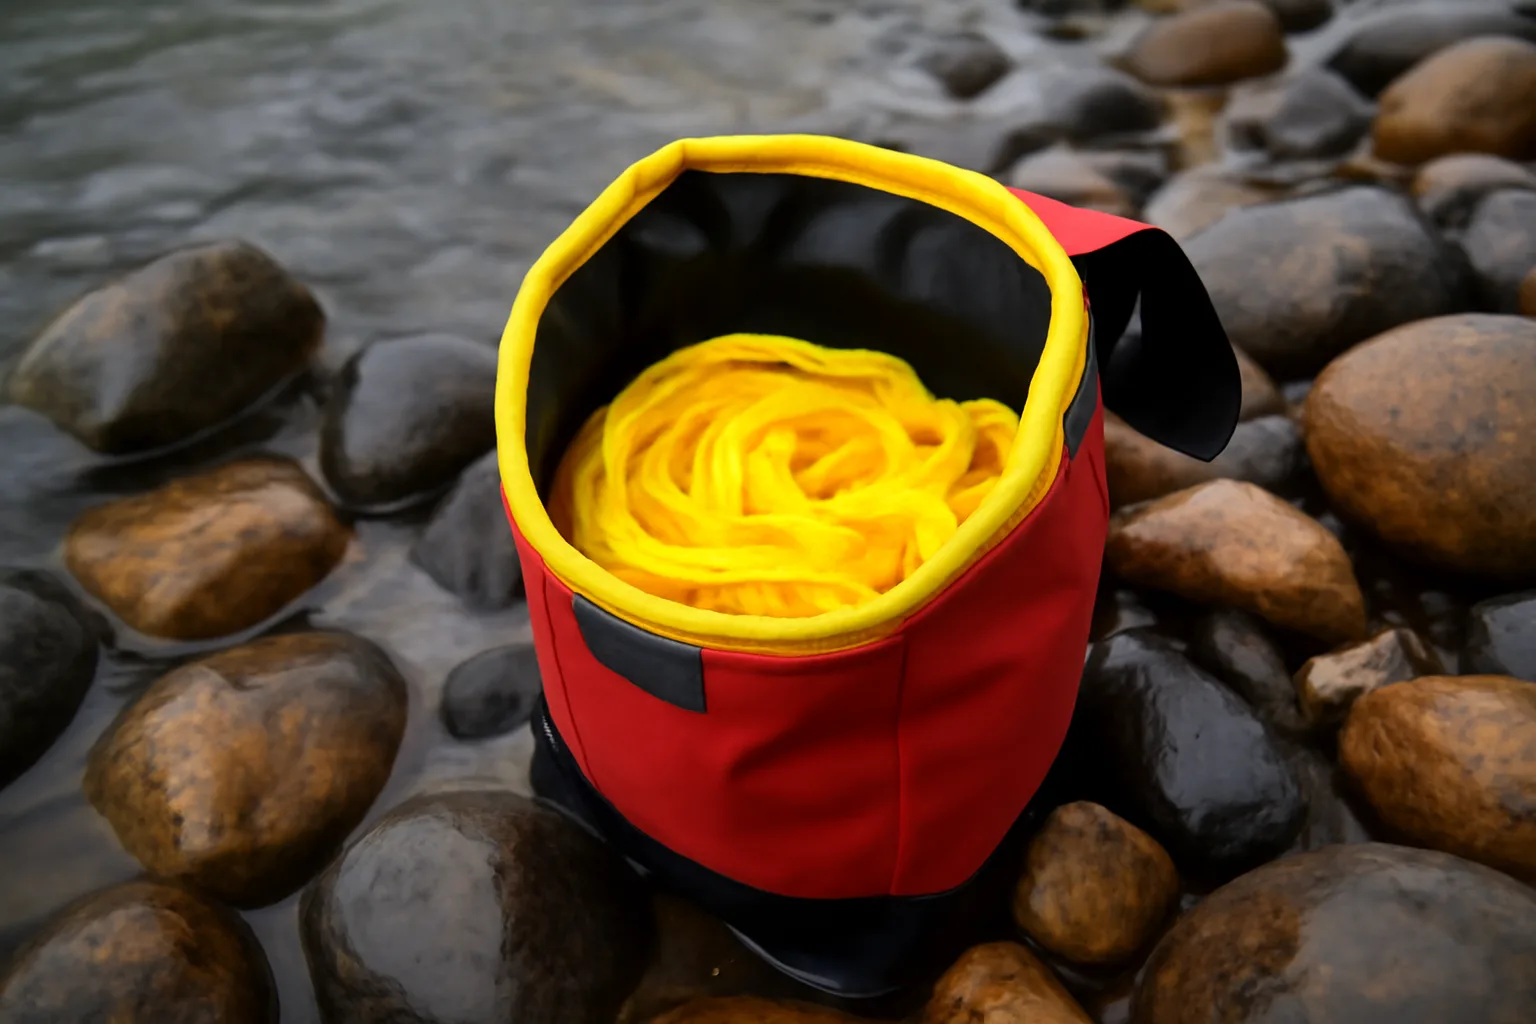
HF’s 20m Compact Classic uses a floating 8.5mm line and a wide, cone-shaped bag opening. That combination makes sense for a group that wants a conventional bank or boat-carried throw bag and intends to practise repacking it. The bright bag is easy to identify among other kit.
Best for: A full-size river throw bag with a wide opening for repacking.
Watch out for: It is not the smallest bag to wear or stow. Check that its carry position stays accessible without creating a snag risk, and practise with the actual line before a trip.
Lomo Kayak Throw Line 20m — A simpler 20m line
Lomo’s 20m kayak throw line has 8mm floating polypropylene rope and a reflective panel on the bag. It covers the same nominal reach as the HF but keeps the buying decision focused on a basic bag and line.
Best for: A practical 20m line without paying for extra carry features.
Watch out for: There is no waist belt on this variant. Plan a secure, accessible place for it and check the line and bag after each practice session.
Lomo Kayak Throw Line 15m with Belt — A shorter line on a belt
This Lomo version pairs a 15m floating line with an adjustable belt. It suits paddlers who need quick access to the bag without finding it in a hatch, provided the belt and release arrangement suit their boat, buoyancy aid and training.
Best for: Paddlers who want the bag accessible on an adjustable belt.
Watch out for: Fifteen metres is less reach than the 20m options. A waist-carried line needs careful positioning; avoid loose rope or a carry setup that can catch on equipment.
NRS Standard Rescue Throw Bag — More rope for a suitable bank position
The NRS Standard carries a 75ft line—about 23m—made from floating polypropylene. Its flared opening and drainage mesh are useful details for a group that practises throwing and repacking from a river bank.
Best for: A longer, bulkier bag for a suitable river-bank position.
Watch out for: It is bulkier than the other choices. More line does not make an unsafe bank position safe and can mean more rope to manage in moving water.
Choose length, rope and carry method
Match reach to a safe position
A 15m line can be easier to carry; a 20m bag gives more reach; the NRS Standard holds about 23m. None guarantees a successful throw at its full length. Choose a safe position and a line you can handle in practice, not a distance you hope to cover in an emergency. The RNLI’s throw-bag training is a useful route to practising the skill.
Look for floating, visible rope
All four choices use floating line. Check the exact rope length and diameter rather than assuming two bags with similar names contain the same line. Rope specifications are not a promise about the strength of a complete rescue system: knots, wear and the situation change the loads. Follow the maker’s instructions and your training.
Decide where the bag will live
A bag buried in a dry hatch is hard to use quickly. A belt can keep a shorter bag close, but a dangling line or poorly positioned buckle can snag. Agree with your paddling group who carries rescue equipment and where it is secured. Our dry-bag guide helps separate ordinary storage from rescue kit that must stay accessible.
River and sea: different rescue plans
On a river, the current, bank footing, downstream hazards and the place where a person could come ashore govern whether a shore-based throw is suitable. Do not enter the water or put yourself at the edge of a dangerous flow. On the coast, tides, surf, wind and distance can make a short line irrelevant or unsafe to deploy. Call the Coastguard and follow local advice rather than assuming a river rescue technique transfers to open water.
Sea kayakers may carry a throw line as part of group equipment, but it is not a substitute for communication, a suitable buoyancy aid and a plan for assisted rescue. For context, read our river versus sea kayaking comparison and VHF radio guide.
Training, carrying and care
- Practise before relying on it: train with the bag you carry, including throwing, repacking and keeping rope clear of hands and feet.
- Check the line: inspect for abrasion, knots, contamination and damage; retire equipment according to the maker’s guidance.
- Dry and repack: rinse and dry after use as directed, then repack without tangles so the bag is ready next time.
- Agree a group plan: identify who has the line and who calls for help. Do not make a rescue attempt beyond your skills.
The RNLI’s throw-line guidance shows why clear instructions and regular practice matter. Check your buoyancy aid maintenance at the same time.
The bottom line
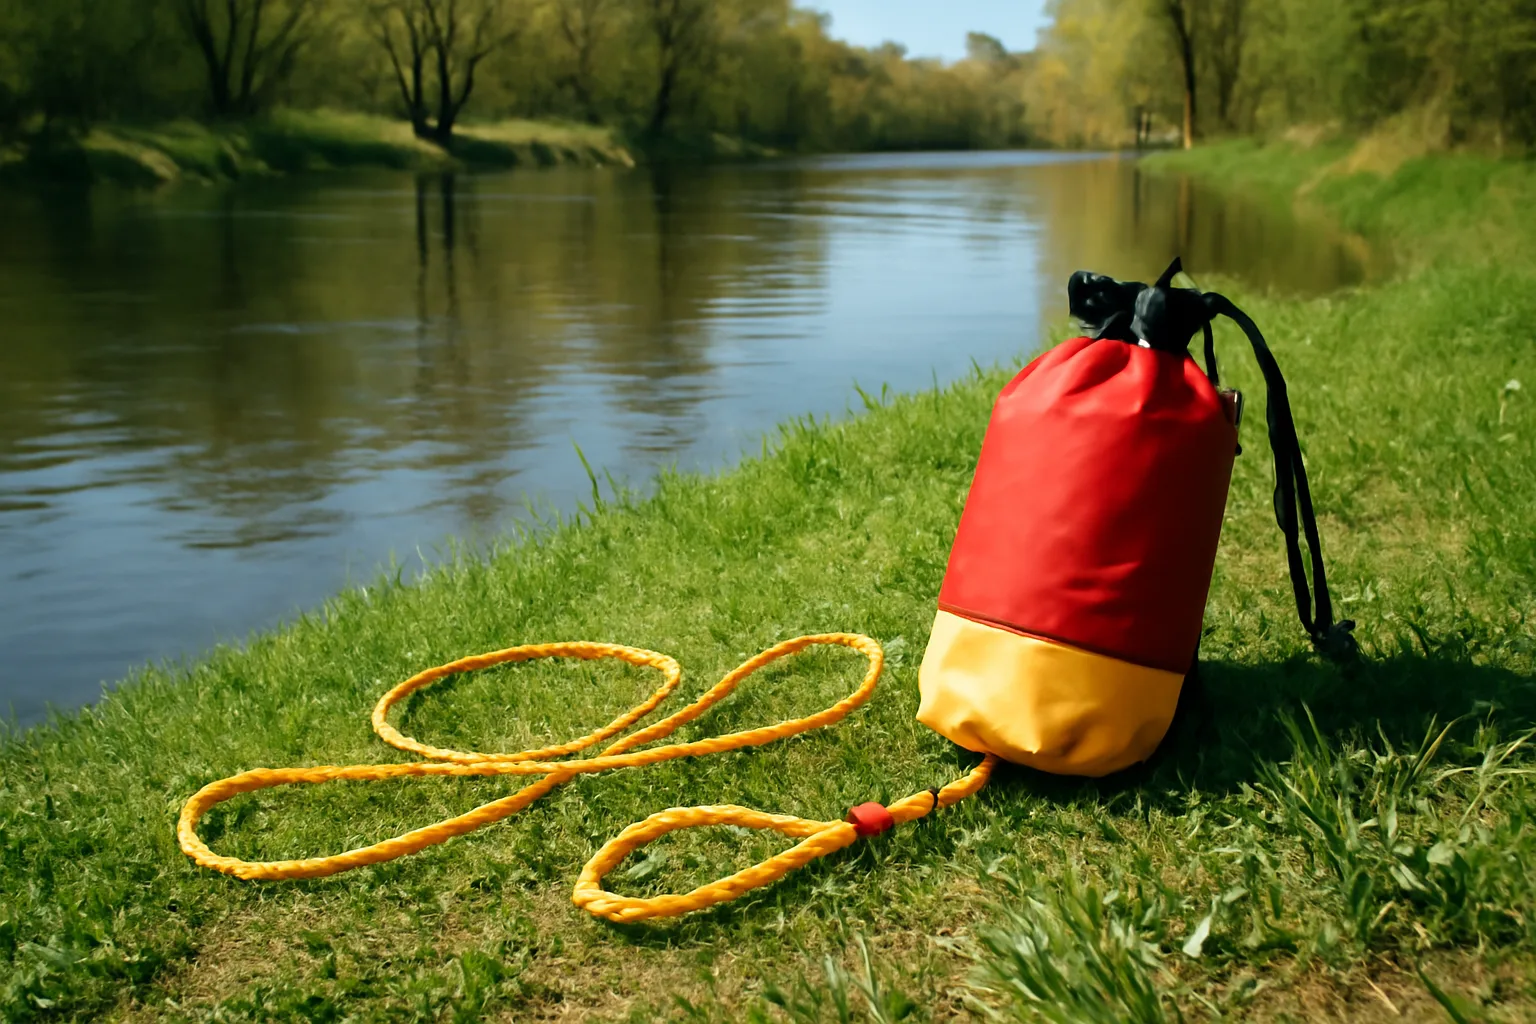
For a trained river group that wants one conventional 20m bag, choose the HF Compact Classic. The Lomo 20m is the simpler alternative, the Lomo 15m belt bag suits a carefully planned carry setup, and the NRS Standard provides a longer line where the position and training justify it. The best rescue throw bag is the one your group has practised with and can use from a safe place. Call for help first; do not let any bag encourage an unsafe rescue attempt.
Frequently Asked Questions
Which rescue throw bag is best for UK river paddling? For a trained group wanting a conventional 20m floating line, the HF Compact Classic is a balanced choice. The right bag still depends on the river, your carry setup and the line you can throw and repack in practice.
Is a 15m or 20m throw line better? Choose the length you can carry and handle accurately from a safe position. Fifteen metres is more compact; 20m offers more reach but adds line to manage. Neither distance guarantees a successful rescue.
Can a throw bag be used at sea? A throw line may be part of a trained group’s coastal kit, but tides, wind, surf and distance can make a throw impractical. Call 999 or 112 and ask for the Coastguard if someone is in trouble. Do not enter the water to attempt a rescue.
Do I need training to use a throw bag? Yes. Practise throwing, managing the line and repacking with appropriate instruction. A bag alone does not make a rescue safe, and a person should not attempt anything beyond their training.
Does a throw bag replace a buoyancy aid? No. Wear a suitable buoyancy aid for your activity. A throw bag is additional group safety equipment; it does not replace personal flotation, communication or a trip plan.
How should I store and maintain a throw bag? Keep it secured but accessible, inspect the bag and rope for wear, and rinse and dry it after use as the maker directs. Repack it without tangles and replace damaged equipment.