If you want to know how to store a kayak at home, the answer is mostly about support, dryness and not pretending a 3.5m plastic boat will politely fit wherever you last leaned it. A hardshell kayak needs even support along the hull, out of UV and away from sharp pressure points; an inflatable kayak needs to be rinsed, dried and packed without trapping moisture in the folds. Get those basics right and you avoid warped hulls, mouldy bags, split seams and the horrible spring discovery that last summer’s quick tidy-up has turned into an expensive repair.
In This Article
- The Quick Answer: How to Store a Kayak
- Pick the Right Storage Method for Your Kayak
- Clean and Dry the Kayak Before It Goes Away
- Store a Hardshell Kayak Without Warping the Hull
- Store an Inflatable Kayak Without Mildew or Crease Damage
- Transport, Security and Small-Space Storage Problems
- Winter Checks Before You Forget About It
- Frequently Asked Questions
The Quick Answer: How to Store a Kayak
If you have a hardshell kayak, store it indoors if you can, supported on padded wall arms, a ceiling hoist or a proper rack. Do not leave it flat on the ground, balanced on two narrow points, or hanging by the grab handles for months. The hull is strong on the water, but plastic can still deform when the same load sits in the same spot all winter.
If you have an inflatable kayak, the best routine is different: rinse it, dry it properly, remove loose grit, let the pressure out fully, fold it loosely along its normal fold lines and store it in a dry bag or cupboard. Do not seal it away wet. That is how you get mildew, sticky PVC and a bag that smells like an old wetsuit.
For most UK homes, my first-choice setup would be:
- Hardshell kayak: padded wall rack or J-style wall arms in a garage or shed, usually £31.99 for heavy-duty padded hooks from B&Q marketplace, £52.34 for a Lomo XL Deluxe Kayak Wall Rack via Decathlon, or £35.02 for a Lomo pulley hoist via Decathlon.
- Inflatable kayak: the original carry bag, a cheap microfibre towel, a dry garage shelf or indoor cupboard, and enough space to avoid crushing the fin box or valves.
- Transport kit: wide cam straps and roof-bar pads before fancy accessories. Decathlon lists kayak/SUP travel straps at £19.99 and protective roof-bar foam at £14.99, which is enough for many simple roof-bar setups.
The boring kit matters. A £14.99 roof-bar foam set and a £19.99 pair of straps can prevent more damage than a premium paddle upgrade if the kayak spends every journey grinding against bare metal.
This guide is about home storage, not choosing the boat itself. If you are still deciding between inflatable, sit-in and sit-on-top designs, start with our best kayaks 2026 UK guide or the more beginner-focused how to choose a kayak for a beginner article first.
Pick the Right Storage Method for Your Kayak
The right storage method depends on the kayak type, hull material, home layout and how often you paddle. A sea kayak in a garage needs a different answer from a Decathlon inflatable in a flat.
Hardshell plastic kayaks
Most recreational hardshell kayaks are made from polyethylene. It is tough, forgiving and ideal for UK beginners, but it can take a set if left under pressure. The common mistake is resting the whole kayak on two narrow wooden battens or one hard hook. It looks fine in October. By April, the hull can have a flat spot.
Support the kayak near the strongest parts of the hull, usually around the bulkheads or wider cockpit area, with wide padded contact points. A pair of large padded wall hooks can work if they are far enough apart and fitted into masonry or studs. Thin screw-in hooks from a general hardware aisle are fine for garden tools, not for a 20kg boat hanging above a family bike.
Composite and touring kayaks
Composite kayaks are stiffer and less prone to oil-canning than cheap plastic boats, but they are easier to chip and scratch. Treat them like a long, awkward piece of furniture. Padding matters, and so does clearance around the ends. A 4.5m touring kayak sticking out across a garage is exactly where someone will walk into the bow with a recycling box.
If you own a touring kayak, you probably already have roof bars and better paddling kit. Spend the same care on storage. A decent wall rack at £50-£100 is cheap compared with a cracked gel coat repair.
Inflatable kayaks
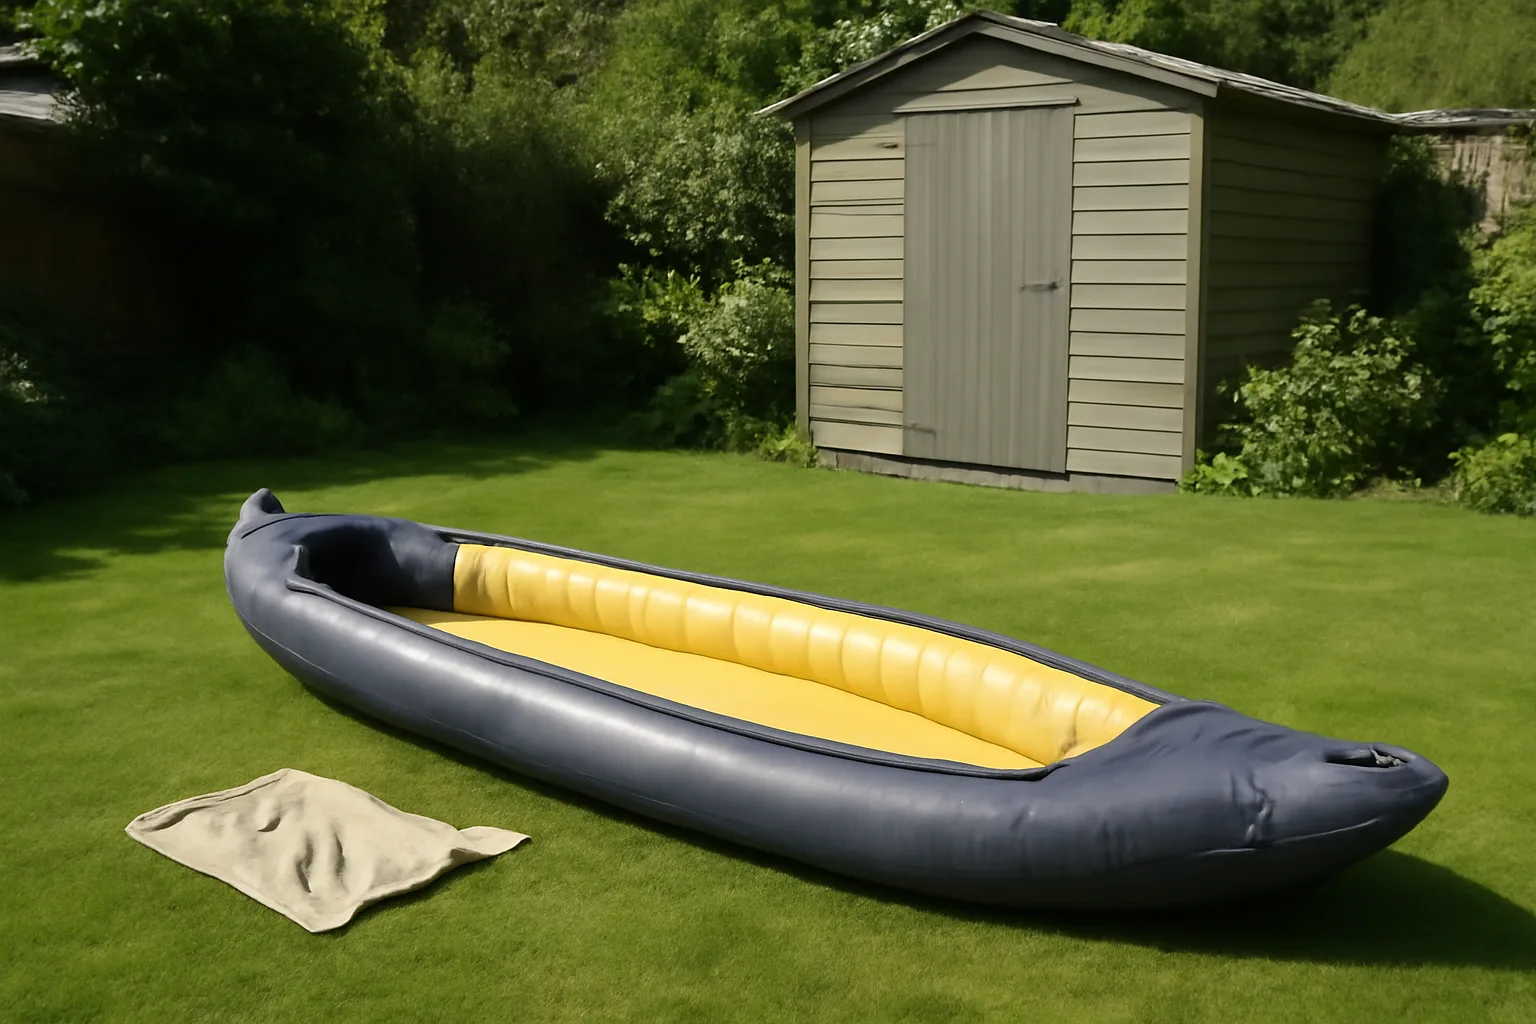
Inflatables solve the big home-storage problem because they pack down, but they create a moisture problem instead. The material does not like being folded damp, and seams do not enjoy hard repeated creases. If you paddle once a month, packing it dry in its bag is fine. If you paddle twice a week, leaving it loosely rolled or lightly folded in a ventilated space can be kinder than forcing it into the smallest possible package every time.
Our best inflatable kayaks UK guide covers which models pack down cleanly. For storage, the same rule applies to all of them: dry first, fold second.
Flats, terraces and shared storage
If you live in a flat or a terraced house without a garage, be brutally practical. A hardshell kayak may be the wrong purchase unless you have a club rack, a secure garden, a lockable storage unit or a friend with garage space. A hardshell kayak in a hallway is funny for about two days. After that, it becomes a shin-height argument.
For small homes, an inflatable kayak or a folding kayak is usually the better call. It can live in a cupboard, under a bed or on a dry utility-room shelf. Keep the pump, paddle, buoyancy aid and repair kit in the same place so you are not hunting for a valve adaptor on the first sunny Saturday in May.
Clean and Dry the Kayak Before It Goes Away
Storage starts before the kayak reaches the rack. Grit, salt, weed and trapped water are what turn a tidy storage plan into damage.
The five-minute rinse
After freshwater paddles, a quick rinse is usually enough. After saltwater, muddy canals or silty rivers, be more careful. Salt dries into fittings, grit scratches soft inflatable fabric, and canal grime finds every seam.
Use a hose on a gentle setting or a bucket and sponge. Pay attention to:
- Skeg and rudder areas: rinse grit out before it dries in the moving parts.
- Carry handles and deck lines: these hold dirt and salt against fittings.
- Cockpit rim and seat area: sand and mud collect here on sit-in kayaks.
- Drain plugs and scupper holes: clear leaves, weed and small stones.
- Inflatable seams and valves: wipe around them before folding.
Do not blast bearings, rudder cables or valve edges with a pressure washer. It is too aggressive for a job that needs water, patience and a towel.
Drying properly
Drying is not glamorous, but it is the step people skip. Leave the kayak open in shade or weak sun until the cockpit, seat, hatches and bag are dry to the touch. A large microfibre towel costs about £8-£15 from Decathlon, Amazon UK or car-cleaning aisles, and it earns its keep after every paddle.
For sit-in kayaks, sponge out water from the cockpit and open the hatches. If you store a kayak with damp hatch covers sealed down, the smell builds quickly. For sit-on-top kayaks, tilt the boat so scuppers and moulded wells drain before it goes onto the rack.
For inflatables, dry the top, flip it, dry the underside, then dry inside the folded areas as you pack. It takes longer than you want. Still cheaper than replacing a mildewed boat.
Check for damage while it is clean
A clean kayak tells you things a muddy one hides. Before storage, look for:
- Deep gouges in plastic hulls, especially near the bow and stern.
- Loose deck lines or frayed bungees.
- Missing hatch covers or perished rubber seals.
- Soft patches on inflatable floors or side tubes.
- Slow valve leaks after a paddle.
Small scratches are normal. A deep cut, open seam or leaking valve should be fixed before winter. If you also store paddles in the same area, our guide to repairing paddle damage is worth checking before you put everything away together.
Store a Hardshell Kayak Without Warping the Hull
A hardshell kayak needs even support, shade and enough clearance that normal life does not keep knocking into it.
Wall racks
For most garages, a wall rack is the neatest answer. The kayak sits on padded arms, the floor stays clear, and you can see the hull rather than burying it under a tarp. The important bit is not the rack brand. It is how you mount it.
Fit the arms into solid timber studs or masonry. Plasterboard alone is not enough. A 20kg kayak falling from shoulder height can damage the boat, the wall and whatever happens to be underneath. If you are unsure about the wall, use a freestanding rack or ask someone competent to fit it. No shame in that; gravity has no respect for DIY confidence.
The current UK price spread is wide. B&Q lists heavy-duty padded garage hooks suitable for canoes and kayaks at £31.99 for a pair through its marketplace. Decathlon lists the Lomo XL Deluxe Kayak Wall Rack at £52.34. Wooden surf-style racks can be £70-£150 from specialist watersports shops, but I would only pay that if the kayak is visible in a living space or you need a nicer finish.
Ceiling hoists
A ceiling hoist is useful when wall space is gone. It lifts the kayak above bikes, tools and storage boxes. It is also a bit more faff every time you paddle, so be honest about your tolerance.
Decathlon lists the Lomo Kayak Hoist pulley system at £35.02. Similar pulley hoists on Amazon UK are often £20-£45. They work best for garages with solid joists and enough ceiling height. If the garage door rails, lights or shelving are already in the way, measure twice. A hoist that fouls the up-and-over door is not a storage solution; it is a weekend of swearing.
Freestanding racks
Freestanding racks suit renters and anyone who cannot drill into walls. They cost more and use floor space, but they avoid permanent fixings. Basic two-boat metal racks are often £70-£150. DIY timber racks can be cheaper if you already have tools, but pad every contact point with pipe insulation or foam.
The rack should hold the kayak on its side or at an angle, not force the hull flat against a narrow edge. If you can see a pressure mark after a week, change the support before winter makes it permanent.
Outdoor storage
Outdoor storage is possible, but it needs shade, airflow and security. Do not wrap a kayak tightly in a cheap plastic tarp and leave it on the ground. That traps condensation and rubs against the hull in wind.
A better outdoor setup is:
- Off the ground: use a rack, trestles or wide padded supports.
- Shaded: avoid months of direct UV on plastic.
- Covered but ventilated: a breathable cover beats a sealed plastic wrap.
- Locked: use a cable lock through a strong point, not just around a loose handle.
If the kayak lives outside near a canal or river, check the access rules before you get into a routine. The Canal & River Trust says portable unpowered craft, including kayaks, need a small craft licence on its waterways, which matters if your “storage spot” becomes your regular launch plan.
Store an Inflatable Kayak Without Mildew or Crease Damage
Inflatable kayak storage is less about load support and more about moisture, pressure and fold discipline.
Dry before deflating fully
If you deflate an inflatable kayak while it is still wet, the folds trap water. Leave some air in while you wipe it down because the shape keeps surfaces accessible. Then open the valves and let it soften before the final fold.
The annoying part is the floor. Drop-stitch floors and removable inflatable floors hide water along the edges. Pull the floor out if your model allows it, wipe both sides, then leave it apart until dry.
Fold loosely
Follow the manufacturer fold pattern if the manual gives one. If not, fold along the natural panel lines and avoid forcing the same sharp crease every time. Repeated hard folds are where coatings fatigue first.
Remove the skeg or fin before packing. A replacement fin might only be £10-£25, but a distorted fin box is a bigger nuisance. Keep small parts in a pouch inside the kayak bag so they do not disappear into the garage.
Bag storage
The original bag is usually fine, but do not overcompress it. If the zip needs a wrestling match, the kayak is either still wet, folded badly or carrying too much extra kit inside the bag.
Store the bag:
- Off cold concrete on a shelf, pallet or mat.
- Away from boiler cupboards or hot conservatories.
- Away from sharp tools and garden chemicals.
- With the pump hose relaxed rather than bent hard in the same place.
If the kayak came with a thin budget bag, a stronger holdall or wheeled bag can make sense. Expect £40-£90 for a better generic watersports bag. I would buy that after straps, a buoyancy aid and dry bags, not before. For safety kit priorities, see our kayaking buoyancy aid guide and PFD care and maintenance guide.
Short-term inflated storage
If you paddle every few days, you can leave an inflatable kayak partly inflated, indoors or in a shaded garage. Drop the pressure, support it along its length and keep it away from heat. Do not leave it at full pressure in a hot shed. Air expands as temperature rises, and seams do not enjoy being used as pressure relief valves.
This is where a cheap wall sling or wide shelf helps. Two narrow hooks under an inflatable tube can leave dents. Broad support is kinder.
Transport, Security and Small-Space Storage Problems
Storage and transport are joined at the hip. If getting the kayak out is a chore, you will use it less. If transport is rushed, you will damage it before it reaches the water.
Roof bars and straps
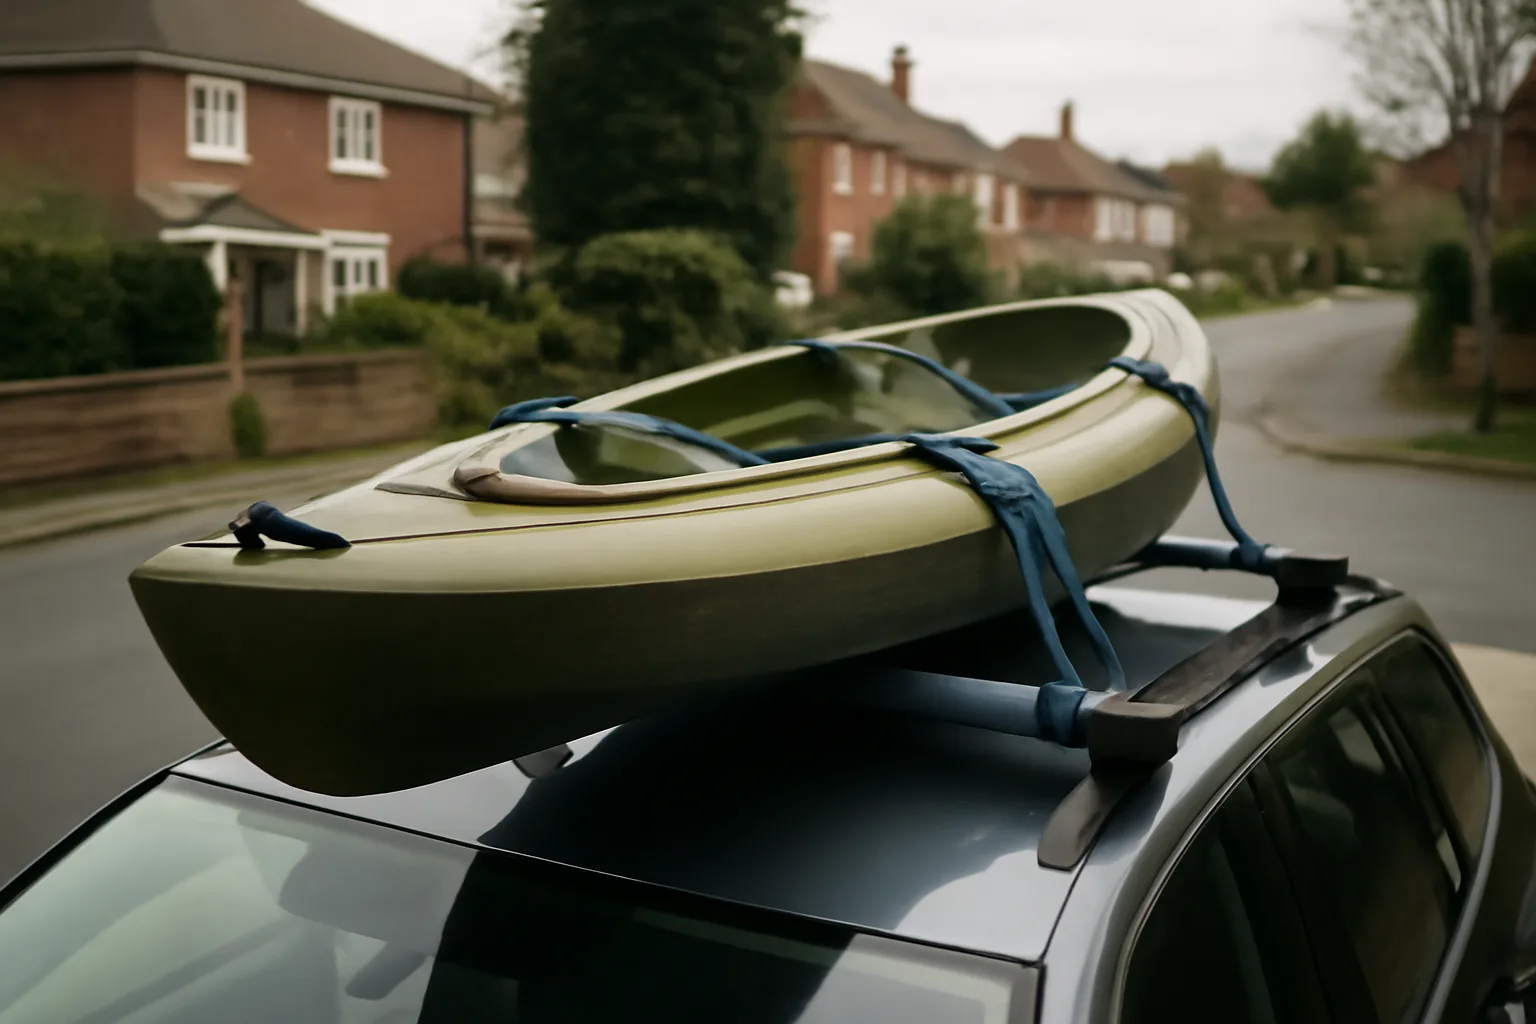
For hardshell kayaks, proper roof bars are the baseline. Halfords sells vehicle-specific roof bars and says fitting is available for £20, which is worth considering if you are not confident fitting bars yourself. Kayak carriers then sit on top of those bars. Decathlon currently lists Cambridge Kayaks Heavy Duty Folding J Bars at £66.00, down from £96.00, while Lomo double folding kayak J bars are listed at £95.04.
J-bars are useful when carrying one or two kayaks because they hold the boat on its side and leave more roof width free. Simple padded bars can work for one recreational kayak, especially for shorter local trips, but use bow and stern lines for longer journeys or exposed roads.
Use cam straps, not ratchet straps. Ratchets make it too easy to overtighten and deform the hull. A hand-tight cam strap is enough when routed correctly. Decathlon’s kayak/SUP travel straps are £19.99; generic cam straps from Screwfix or Amazon UK can be cheaper, but check width and buckle quality.
The Paddler magazine’s kayak transport advice is clear that car-loading mistakes can damage the boat and create road safety risks, so do not treat the roof-rack setup as an afterthought.
Flats and no-garage homes
If your only storage is indoors, measure the bag or boat before buying. A packed inflatable kayak can still be the size of a large suitcase and weigh 12-18kg. That is fine in a cupboard, less fine carried up three flights of stairs with a paddle, pump and wet shoes.
For hardshell owners without a garage, look at:
- Club storage: often the cleanest answer if you paddle from the same water.
- Paid self-storage: workable, but monthly costs can make the kayak look less cheap.
- Garden rack under cover: possible with locks and ventilation.
- Shared garage space: good if access is reliable and the boat is insured.
Self-storage prices vary by location, but even £20-£40 per month changes the ownership maths. If storage costs more than the kayak over two years, an inflatable starts to look sensible.
Security
Kayaks are awkward to steal, not impossible to steal. A cable lock through a scupper hole, seat frame or strong carry point is better than nothing. Do not rely on a loose grab handle that can be unscrewed.
For outdoor storage, hide the kayak from street view if possible. Put the rack behind a gate, use a ground anchor if you already have one, and photograph the serial number or identifying marks. Check your home insurance wording too. Some policies treat sports equipment in sheds differently from items inside the house.
Do not forget the accessories
The kayak is the big object, but the accessories are what make the next trip smooth. Store the paddle dry and unclamped, hang the buoyancy aid where air can circulate, and keep dry bags open until they are fully dry.
If you store a wet buoyancy aid in a sealed box, the foam and straps will smell. If you leave a split paddle clamped tight all winter, the ferrule can seize. None of this is dramatic. It is just annoying when the weather finally turns good.
Winter Checks Before You Forget About It
The best time to fix kayak problems is when you put the boat away, not the night before the first spring paddle.
Hardshell winter checklist
Before long storage, check:
- Hull shape: no deep dents or flattened storage marks.
- Deck lines: tight enough to be useful, not perished or fuzzy.
- Hatches: covers intact, seals clean, no trapped water.
- Seat fittings: bolts and straps secure.
- Rudder or skeg: moving cleanly and rinsed free of grit.
If a plastic kayak has a small oil-can dent, gentle warmth and support can sometimes help it recover. Do not attack it with a heat gun unless you know what you are doing. It is very easy to turn a minor dent into a melted patch.
Inflatable winter checklist
Inflate it once before final storage and leave it for a few hours. If pressure drops, find the leak now. A basic repair kit is often included, but replacement PVC patches and adhesive are usually £8-£20 if the original kit has vanished.
Check valves for grit. Wipe the threads, make sure caps are attached and confirm the pump adaptor still fits. It sounds petty until you are standing next to a river with the wrong adaptor and a limp kayak.
Safety kit audit
Winter is also the right time to check the safety kit that lives with the kayak. Look at the buoyancy aid, whistle, throw line, phone pouch, spare clothes and first-aid kit. Replace anything cracked, perished, missing or suspiciously crunchy.
For route planning and access, our best kayaking routes in the UK guide is useful when the boat comes back out. Just do yourself a favour and sort the storage first. A kayak that is dry, supported and easy to reach gets used more. The one buried behind Christmas decorations becomes expensive wall art.
Frequently Asked Questions
Can I store a kayak outside all year? Yes, but only if it is off the ground, shaded from UV, covered with ventilation and locked securely. Outdoor storage is much safer for tough plastic kayaks than for fabric inflatables. Avoid sealed tarps that trap condensation against the hull.
Is it OK to hang a kayak from the handles? No. Grab handles are for carrying, not long-term hanging. Months of hanging from the handles can stress fittings and distort the ends. Use padded wall arms, a sling or a hoist that supports the hull instead.
Should a kayak be stored upside down or right way up? A hardshell kayak is often best stored on its side or upside down on wide padded supports, depending on hull shape and rack type. The key is broad, even support rather than one exact orientation. Avoid narrow pressure points.
Can I leave an inflatable kayak inflated between trips? Yes, for short periods, if it is out of direct sun and not at full pressure in heat. Drop some pressure, support it along its length and keep it away from sharp objects. For winter, dry it fully and pack it loosely.
How much does kayak storage gear cost in the UK? Basic padded wall hooks can be about £31.99 from B&Q marketplace, a Lomo wall rack is listed at £52.34 via Decathlon, and a pulley hoist is about £35.02. Roof-bar pads and cam straps from Decathlon are £14.99 and £19.99 respectively.
Where should I store kayak accessories? Keep the paddle, pump, fin, repair kit, buoyancy aid and dry bags with the kayak, but dry everything first. Leave split paddles unclamped, keep inflatable fins flat, and hang buoyancy aids where air can circulate.