To navigate tidal waters by kayak, you need a route that works with the tide, a clear turnaround time, and a fallback if wind or current makes the original plan unrealistic. The paddling is only half the job; the real safety margin is built before you leave the beach.
In This Article
- Quick Answer: The Safe Tidal Kayak Plan
- Check the Tide, Weather and Local Rules Before You Launch
- Plan a Route That Works With the Tide
- Use Landmarks, Transits and Simple Bearings
- Kit, Apps and UK Costs Worth Budgeting For
- Common Tidal Navigation Mistakes
- Bottom Line
- Frequently Asked Questions
Quick Answer: The Safe Tidal Kayak Plan
The safest beginner-friendly way to navigate tidal waters by kayak is to paddle a short out-and-back route, start with the tide helping you in the planned direction, turn before conditions change, and keep a landing option available on the same side of the water. Do not rely on “I can always paddle harder” as a navigation plan. Tidal streams are patient. They do not care how optimistic you were in the car park.
For UK coastal kayaking, the basic planning order is:
- Choose sheltered water first: estuaries, harbours and short coastal hops are better learning grounds than open crossings.
- Check tide times and tidal stream direction: know when high water, low water and strongest flow are expected.
- Check wind direction against tide: wind-over-tide can turn manageable water into steep, messy chop.
- Set a turnaround time: decide before launch, not after you are tired.
- Carry a way to call for help: a charged phone in a waterproof case is the minimum; a VHF radio is better for sea trips.
If you are new to tidal water, go with a club, coach or experienced paddler first. A one-day coastal kayaking course in the UK typically costs about £80-£140, and that can be better value than buying more kit while still not knowing how to read moving water.
What changes on tidal water
On a canal or small lake, your route is mostly about distance, wind and boat control. On tidal water, the water itself is moving. A route that feels easy at 10am can be a slog at 1pm. A channel that looks calm at high water can expose mud, rocks or confused flow as the tide drops.
This is why tidal navigation is not just map reading. You are matching a moving kayak to moving water, moving weather and fixed hazards.
The beginner rule I would use
Pick a route where failure is boring. That means shallow enough margins, obvious landing points, no busy shipping channel, no committing headland, and no long open crossing. If the only safe option is to make the far shore, it is not a beginner tidal route.
For basic strokes and control before you add tide, our guide to choosing a beginner kayak is a better starting point. The boat does not need to be fancy, but it does need to be suitable for the water you are entering.
Check the Tide, Weather and Local Rules Before You Launch
Tide tables tell you high and low water times. They do not, on their own, tell you the full story of what the water will feel like in a kayak. You also need tidal stream direction, wind, local hazards and any harbour rules.
The RNLI guidance on tides and currents is worth reading because it explains the basic risk plainly: moving water can carry you away from shore faster than you expect. Pair that with the Met Office inshore waters forecast for wind, visibility and sea state before you decide the route is sensible.
Tide height vs tidal stream
Tide height is the vertical rise and fall. Tidal stream is the horizontal movement of water. Kayakers care about both.
Tide height affects:
- Launch and landing: a slipway can become a mud slope at low water.
- Hazards: rocks, sandbanks and oyster beds can appear or disappear.
- Access: creeks and channels may dry out, leaving you carrying the kayak.
Tidal stream affects:
- Speed over ground: you may be moving faster or slower than your paddling effort suggests.
- Direction: current can push you sideways off the line you thought you were taking.
- Fatigue: paddling against a strong ebb or flood gets old quickly.
The trap is checking only high water and low water. For navigation, you also need to know when the flow starts pushing one way, when it turns, and when it is strongest.
Wind against tide
Wind against tide is the phrase to respect. If the wind blows one way and the tide runs the other, waves can steepen and bunch up. In a kayak, that can mean a route goes from gentle to annoying, then from annoying to unsafe.
As a rough personal limit for relaxed coastal learning, I would keep early tidal trips to light winds, sheltered water and short routes. If the forecast is pushing force 4 or more, or gusts are well above your normal comfort level, save the clever route for another day. There is no prize for turning a leisure paddle into admin for the coastguard.
Local rules and traffic
Harbours, estuaries and tidal rivers can have rules on channels, speed zones, commercial traffic, moorings and launch points. Check harbour authority pages where relevant. Some slipways charge a launch fee, often around £3-£10. Some car parks near popular launch spots are closer to £6-£15 for the day in summer.
If there is commercial traffic, do not treat “small and nimble” as a right of way strategy. Big boats are constrained by depth and channel. You are not. The Canal & River Trust canoeing safety advice makes the same basic point for inland waterways: check local rules, wear a buoyancy aid and paddle within your competence.
Plan a Route That Works With the Tide
A tidal route should have a plan A, plan B and “we are getting out here” option. On a good day, you will not need the backup. On a normal UK day, you may be grateful you had it.
Start by marking your launch, intended turnaround, escape landings and no-go areas. Then check whether the tide helps or hinders each leg.
Work backwards from the return
Beginners often plan the outward leg because it feels exciting. The return leg matters more. You want enough time, energy and water depth to get back or land safely.
For an out-and-back estuary paddle, I like the simple version: go out with gentle assistance, turn early, and return before the flow becomes awkward. If the route needs you to fight a strong tide home, choose a different route.
Set a turnaround time
Set the turnaround time before launch and say it out loud to the group. For example: “We turn at 11:15 even if we have not reached the point.” That removes the little negotiation that happens when the landmark is “just another ten minutes” away.
Build in a buffer. If sunset is 20:45, do not plan to land at 20:30. If low water exposes mud at 14:00, do not plan to scrape back at 13:55. Kayaks are quick to launch, but slow to drag across sticky estuary mud while everyone pretends this was part of the plan.
Understand ferry gliding
Ferry gliding means angling the kayak upstream or uptide so the current carries you sideways without washing you too far down-current. It is a core moving-water skill, and it matters on tidal rivers and estuary channels.
The simple version is:
- Point slightly into the flow: not directly across, not straight downstream.
- Keep steady forward paddling: enough to maintain control and angle.
- Watch your actual track: use a fixed landmark to see whether you are sliding too far.
- Adjust early: small angle changes beat a desperate sprint at the end.
If this feels new, practise on gentle flow with an experienced paddler before using it near moorings, boat traffic or a narrow channel. Our guide to edging a kayak for better turning is a useful companion skill because edging helps the boat respond when water is moving under you.
Avoid committing crossings too early
Crossings are where tidal planning gets serious. A ferry angle that looks small on a map can become a long diagonal in real water. If you misjudge the stream, you may land far below your target or end up trying to claw back against the flow.
For early trips, keep crossings short, visible and reversible. If you cannot explain where you will land if the tide pushes you 200m off line, pick another route.
Use Landmarks, Transits and Simple Bearings
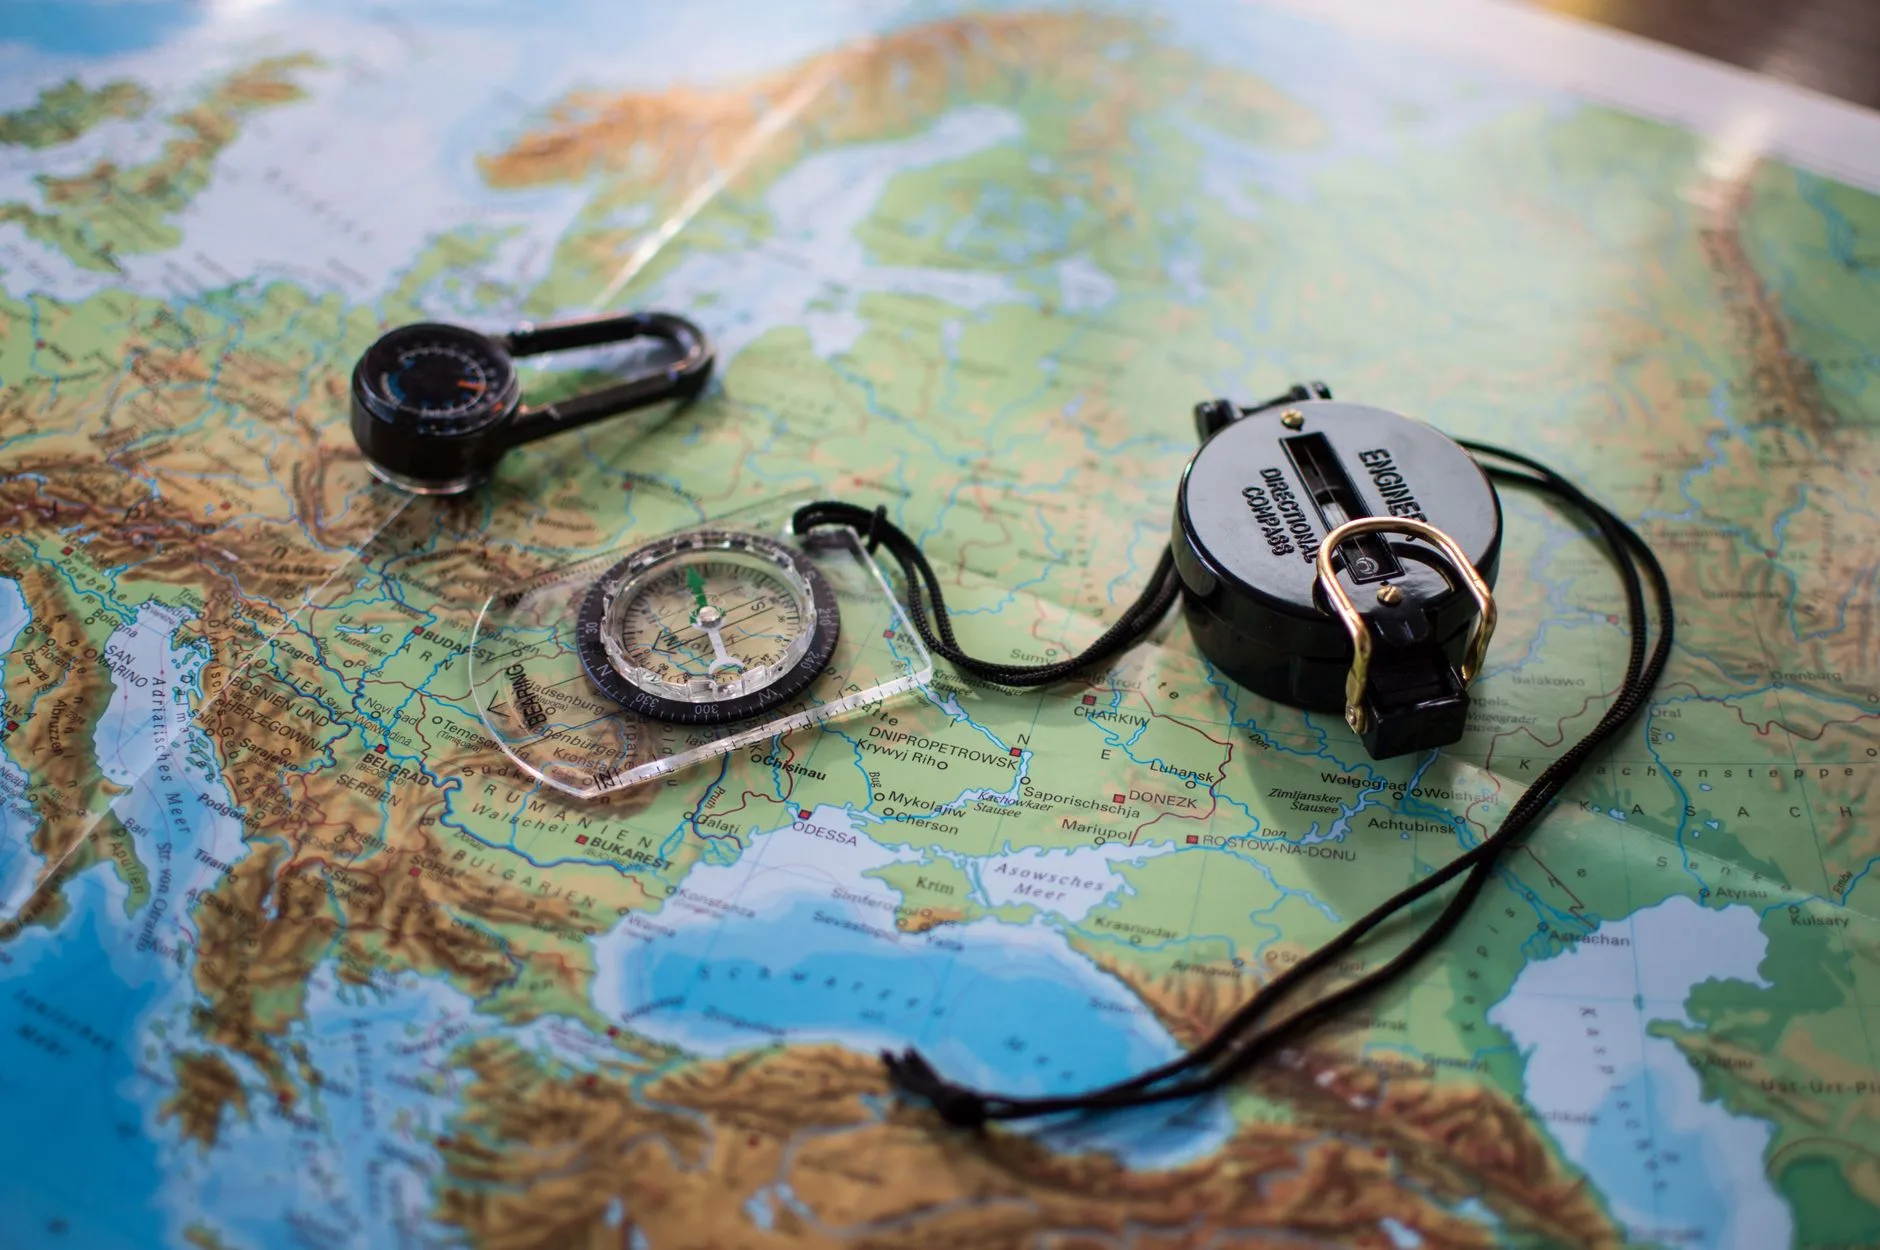
You do not need to turn a leisure paddle into a navigation exam, but you do need a few simple tools. Electronics help. Eyes help more.
Use fixed landmarks
Pick fixed features: church towers, headlands, harbour walls, distinctive buildings, navigation marks, pylons, cliffs or moored boats that are clearly static. Do not use another kayak, a buoy you have not identified, or a cloud that looks helpfully like a dragon for three minutes.
Use landmarks to answer two questions:
- Am I moving sideways? If a fixed object is sliding across the background, the tide is pushing you.
- Am I making progress? If the headland is not changing shape or distance, your effort may be going into holding position.
- Can I still land safely? Keep checking where the nearest sensible exit is, not just where the planned exit is.
Use transits
A transit is when two fixed objects line up. For example, a post in front of a church tower, or a buoy in line with a white building. If the two objects start separating, you are drifting off that line.
Transits are brilliant because they work without batteries. On tidal water, they quickly show whether your kayak is being set sideways. I use them as a quiet truth check when a GPS track looks fine but the boat feels wrong.
Use bearings simply
A deck compass or small handheld compass can cost about £20-£45. A proper sea-kayak deck compass is often £55-£95. You do not need to navigate like an expedition leader on day one, but you should understand the direction of your intended leg and the direction of safe land.
Phones are useful, but a phone in a wet hand with glare on the screen is a poor primary compass. A waterproof phone pouch costs about £8-£20; a floating case or better marine pouch can be £20-£40. Buy one before you need one.
If you are still building boat control, our guide to kayak strokes explained will help more than another app subscription.
Kit, Apps and UK Costs Worth Budgeting For
Tidal navigation does not require a van full of gear, but some items are worth budgeting for because they change your options when conditions shift.
Navigation and communication
Useful kit includes:
- Tide app or tide table: many tide apps have free versions; paid upgrades are often around £3-£15 per year. Printed almanacs or local tide tables may cost about £3-£12.
- Waterproof phone case: £8-£25 for basic cases from Decathlon, Amazon UK or outdoor shops; £25-£45 for better floating or roll-top options.
- Deck or handheld compass: £20-£45 for simple handheld models, £55-£95 for deck-mounted kayak compasses.
- Waterproof chart case: about £15-£35 if you carry a printed chart or laminated route card.
- Handheld VHF radio: roughly £90-£180 for an entry-level waterproof floating set from brands like Icom or Standard Horizon.
For sea trips, a VHF is not just a gadget. It lets you hear local traffic and call for help on the water. Our article on whether paddlers need a VHF radio covers licences, limits and when it becomes worth the money.
Personal safety kit
Budget for the boring kit first:
- Buoyancy aid: £35-£70 for basic recreational models, £80-£140 for better sea-kayaking designs with pockets.
- Whistle and light: £3-£10 for a whistle, £10-£25 for a small waterproof strobe or safety light.
- Towline: £25-£55 for a waist towline, more for advanced sea-kayak rescue systems.
- Dry bag: £8-£20 for a small 10-20L bag, £25-£45 for tougher branded options.
- Thermal layers: £25-£60 for a fleece or thermal top; more if you move into wetsuits or drysuits.
If you are wondering where clothing sits in the budget, our guide to what to wear kayaking in the UK covers seasonal choices without pretending July water is tropical.
Training is kit too
Good coaching changes how you read water. A half-day tidal skills session may cost about £50-£90; a full coastal navigation or sea-kayak day often sits around £80-£160 depending on group size and location.
That can look expensive next to a £12 dry bag, but it may be the best spend in the whole setup. A coach can show you what the tide is doing in real time, not just what a chart said it would do.
Common Tidal Navigation Mistakes
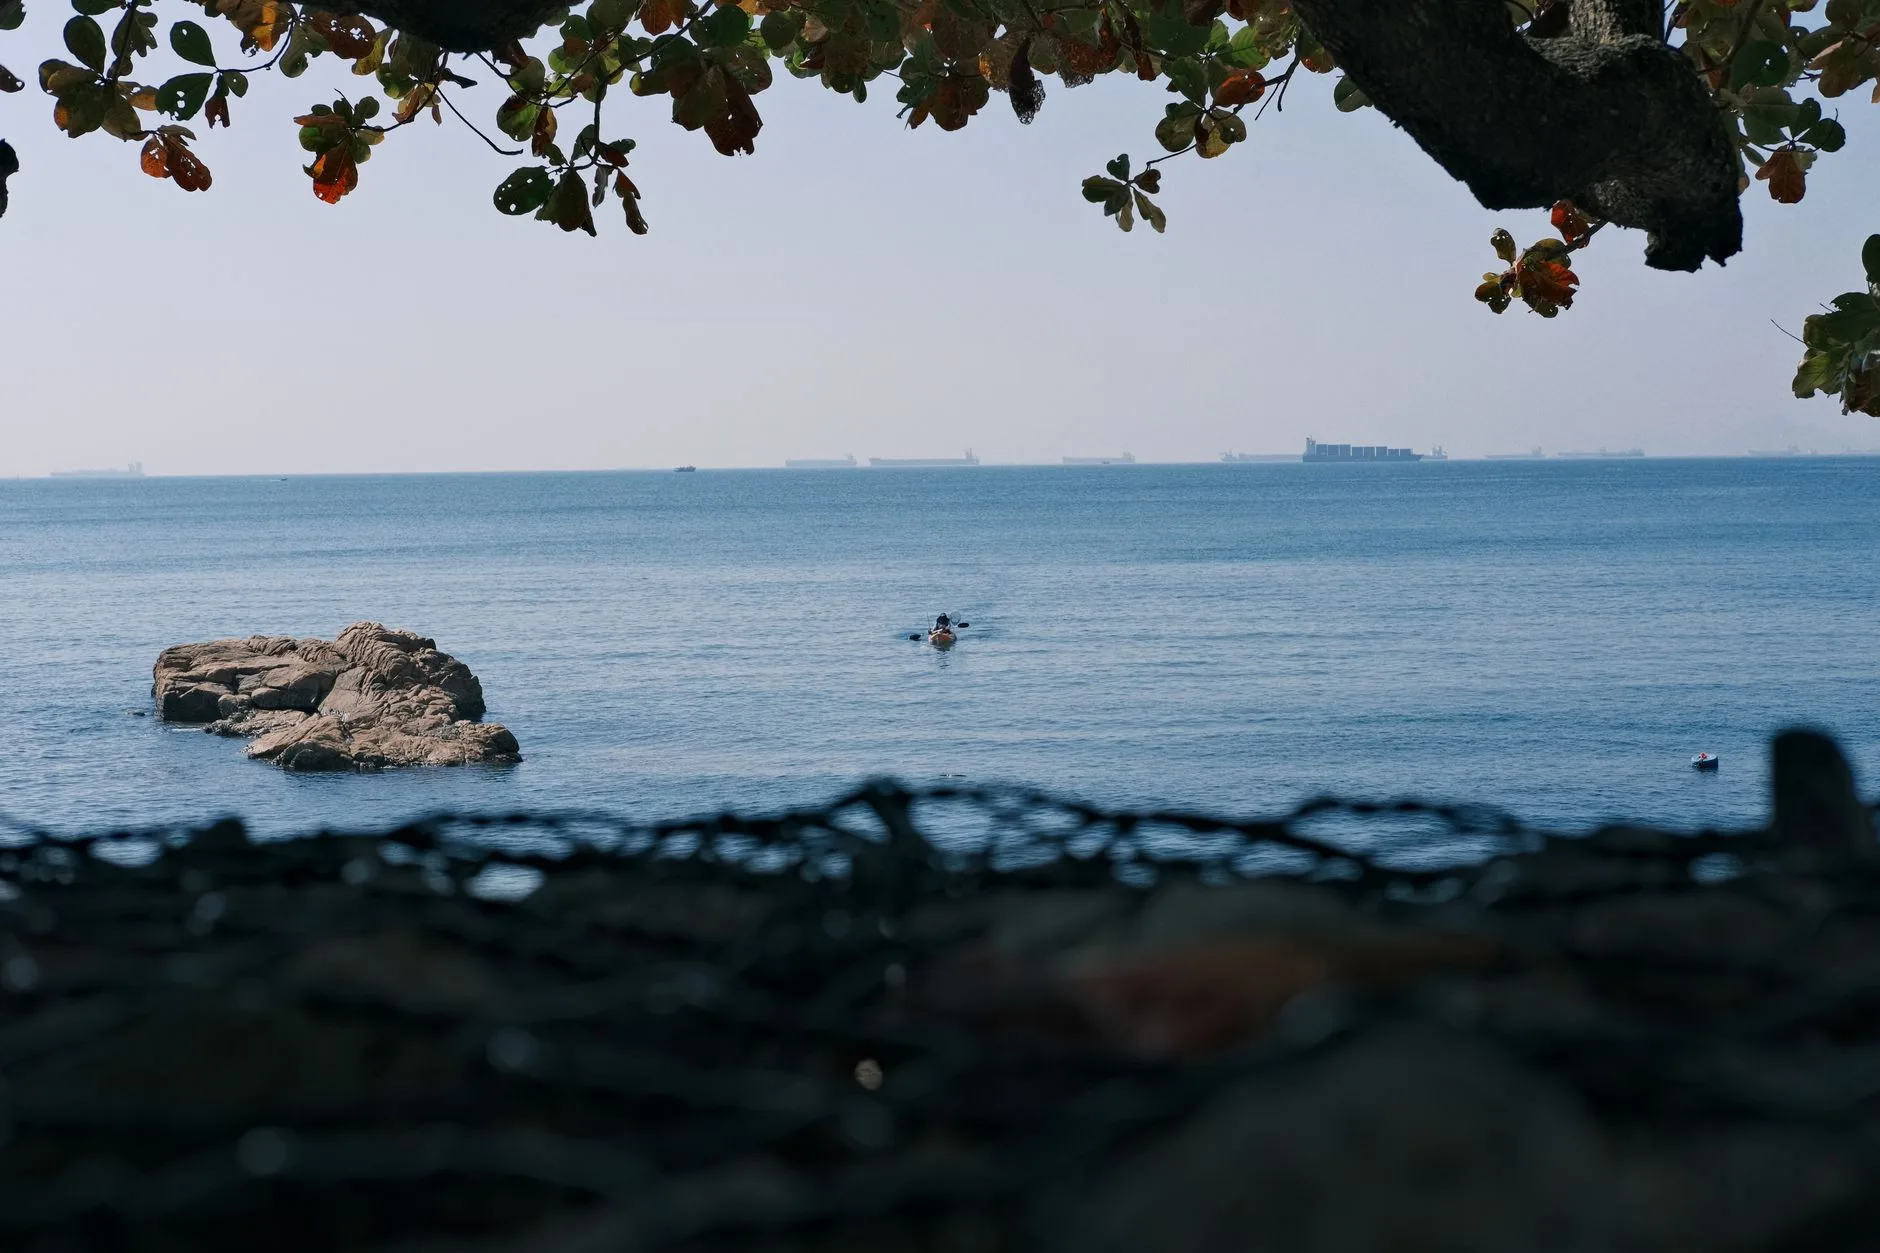
Most tidal problems start small. The route is a bit longer than expected, the wind is a bit stronger, someone is a bit tired, and the landing is a bit muddier than planned. Stack enough “a bits” together and the day changes character.
Mistake: planning only the distance
Five kilometres on sheltered flat water and five kilometres against tide are different trips. Plan time, tide and escape options, not just kilometres.
Fix it by estimating your realistic speed in conditions. A relaxed touring kayak might cover 4-5km/h in easy water. Against tide and wind, that can drop sharply. If your plan only works at your best speed, it is too tight.
Mistake: ignoring the sideways push
Tide does not only push you forward or backward. It can set you sideways across a channel, towards moorings or away from your planned landing.
Fix it by watching transits and landmarks from the start. If you are being pushed sideways early, adjust early. Waiting until the landing is behind you is how a short route becomes a long story.
Mistake: launching because others are launching
Popular spots create false confidence. Seeing paddleboards, kayaks or swimmers on the water does not mean your route is right for your boat, skill or timing.
Fix it by making your own go/no-go decision. If the tide, wind or route does not make sense, change the plan. There is no shame in paddling a sheltered creek instead of the headland route. There is some shame in needing rescue because the car park looked cheerful.
Mistake: treating GPS as the whole answer
GPS is useful, especially for checking speed over ground and track. It is not a substitute for understanding the water. If you are staring at the screen instead of reading the surface, landmarks and wind, you are behind the boat.
Fix it by using GPS as confirmation, not permission. Your eyes, map, compass and common sense should still be in the loop.
Bottom Line
To navigate tidal waters by kayak, plan the route around the tide rather than hoping strength will beat it. Choose sheltered water, check the tide and inshore forecast, set a turnaround time, use fixed landmarks to monitor drift, and keep an exit option close enough to be useful.
If the route needs perfect timing, perfect weather and perfect paddling, it is not the right route for a beginner tidal session. Short, boring and controlled is the win. Build from there.
My buying priority would be: good buoyancy aid first, waterproof phone/VHF communication next, then compass, chart case and paid tide tools once you are actually doing routes that need them. Better still, spend some of the budget on a club trip or coached tidal day. That is where the moving water starts to make sense.
Frequently Asked Questions
Can beginners kayak on tidal water? Yes, but only on sheltered, simple routes with suitable weather, local knowledge and a clear exit plan. A club or coached session is the best first step.
What is the most important thing to check before kayaking tidal water? Check tide direction and timing alongside the wind forecast. Wind against tide is a common reason conditions become rougher than expected.
Do I need a chart to navigate tidal waters by kayak? For simple sheltered trips, a local map, tide information and clear landmarks may be enough. For coastal journeys, crossings or unfamiliar water, carry a chart or route card in a waterproof case.
Is a phone enough for tidal kayak navigation? A phone is useful, but it should not be your only plan. Keep it charged, waterproofed and attached, and consider a compass and VHF radio for more exposed sea trips.
How much tide is too much for kayaking? There is no single number because wind, route shape and paddler skill matter. If the flow is faster than you can comfortably ferry glide or return against, choose a different route.
What should I do if I miss my planned landing? Stay calm, keep the kayak under control, aim for the next safe landing, and call for help early if you are being carried into danger or losing daylight.