Kayak navigation is not about buying the fanciest GPS unit and hoping it saves you. The safe setup is simpler: plan the route on a map, keep a compass where you can use it, carry a phone or GPS as a live position check, and know what you will do if the screen dies halfway through the paddle. Kayak navigation using maps, compass and GPS works best when each tool has a job; this kayak navigation guide keeps the process practical rather than turning a weekend paddle into a chart-table exam.
In This Article
- Kayak Navigation Guide: What You Actually Need
- Start With the Route, Not the App
- How to Use a Map from a Kayak
- How to Use a Compass Without Making It Complicated
- Phone GPS, Watches and Handheld Units
- Navigation Kit Checklist and UK Costs
- Common Kayak Navigation Mistakes
- Frequently Asked Questions
Kayak Navigation Guide: What You Actually Need
A good kayak navigation guide should start with judgement, not gadgets. On sheltered canals and small lakes, navigation may mean identifying the next bridge, checking the return distance and knowing which bank has a safe exit. On estuaries and sea lochs, it means understanding tide, wind, visibility and what happens if you miss your planned landing.
The Three-Layer System
Use three layers, because each one catches a different problem.
- Map or chart — shows the route, exits, hazards, waterway shape and where you are trying to go.
- Compass — gives direction when landmarks are unclear, visibility drops or you need to hold a ferry angle.
- GPS or phone — confirms position and speed, but should not be the only thing you understand.
That sounds old-fashioned until your phone overheats in a dry bag, gets wet through a cracked pouch or loses signal in a steep valley. The paddlers who look calm when things go sideways are usually the ones who still know where they are without zooming a map app in and out.
Inland Water vs Coastal Water
Inland navigation is often linear. The canal, river or lake edge tells you a lot. You still need to know your launch point, return point, distance, access restrictions and bail-out options.
Coastal navigation is less forgiving. Wind and tide can move you sideways, headlands can hide landing spots, and a route that looked short on a map can feel very different with a loaded kayak and a beam wind. For tidal planning, use PaddleGeek’s separate guide to navigating tidal waters by kayak; this article is about the tools and habits that sit underneath that planning.
Beginner Rule
For a beginner or improving paddler, the rule I would use is simple: if you cannot explain the route out loud from a map before launching, you are not ready to rely on GPS on the water. You do not need military-level navigation. You do need to know the shape of the journey, which is why a kayak navigation guide should always start before the boat reaches the water.
Start With the Route, Not the App
The worst navigation plans start with a blue dot and no bigger picture. Plan the paddle first, then use the app to support that plan.
Mark Launch, Turnaround and Exit Points
Before you launch, identify:
- Launch point — including parking, access rules and whether the bank is usable at your return time.
- Turnaround point — not “when we feel tired”, but a named bridge, bay, buoy, beach or grid reference.
- Exit options — places you can safely get off the water if wind, injury or fatigue changes the plan.
- No-go areas — weirs, shipping channels, private landings, exposed headlands or fast tidal races.
The Canal & River Trust paddling safety advice is a good reminder that inland water still needs proper planning, especially around other craft, locks, weirs and cold water.
Work in Time, Not Just Distance
Distance is only part of the plan. A relaxed touring pace on flat water might be 4-5km/h. A beginner in wind may be closer to 2-3km/h. A loaded sea kayak with favourable tide can travel much faster, then feel painfully slow on the return.
For most UK recreational paddles, I would plan with conservative numbers:
- New paddler on sheltered water — 2-3km/h including pauses.
- Steady touring kayak pace — 4-5km/h in calm conditions.
- Against wind or current — reduce the estimate before you launch, not after you are tired.
If the plan only works when everything goes perfectly, it is not a plan. It is a wish with a waterproof phone case.
Check Weather Before You Commit
For coastal paddles, the Met Office inshore waters forecast gives wind direction, wind force, sea state, weather and visibility. For inland paddles, local wind strength and gusts still matter more than rain. PaddleGeek’s weather and tides for paddlers guide covers that wider decision in detail.
Do the weather check before the route becomes emotionally fixed. It is much easier to choose a shorter sheltered paddle at home than to admit the plan is wrong at the launch with boats already inflated.
How to Use a Map from a Kayak
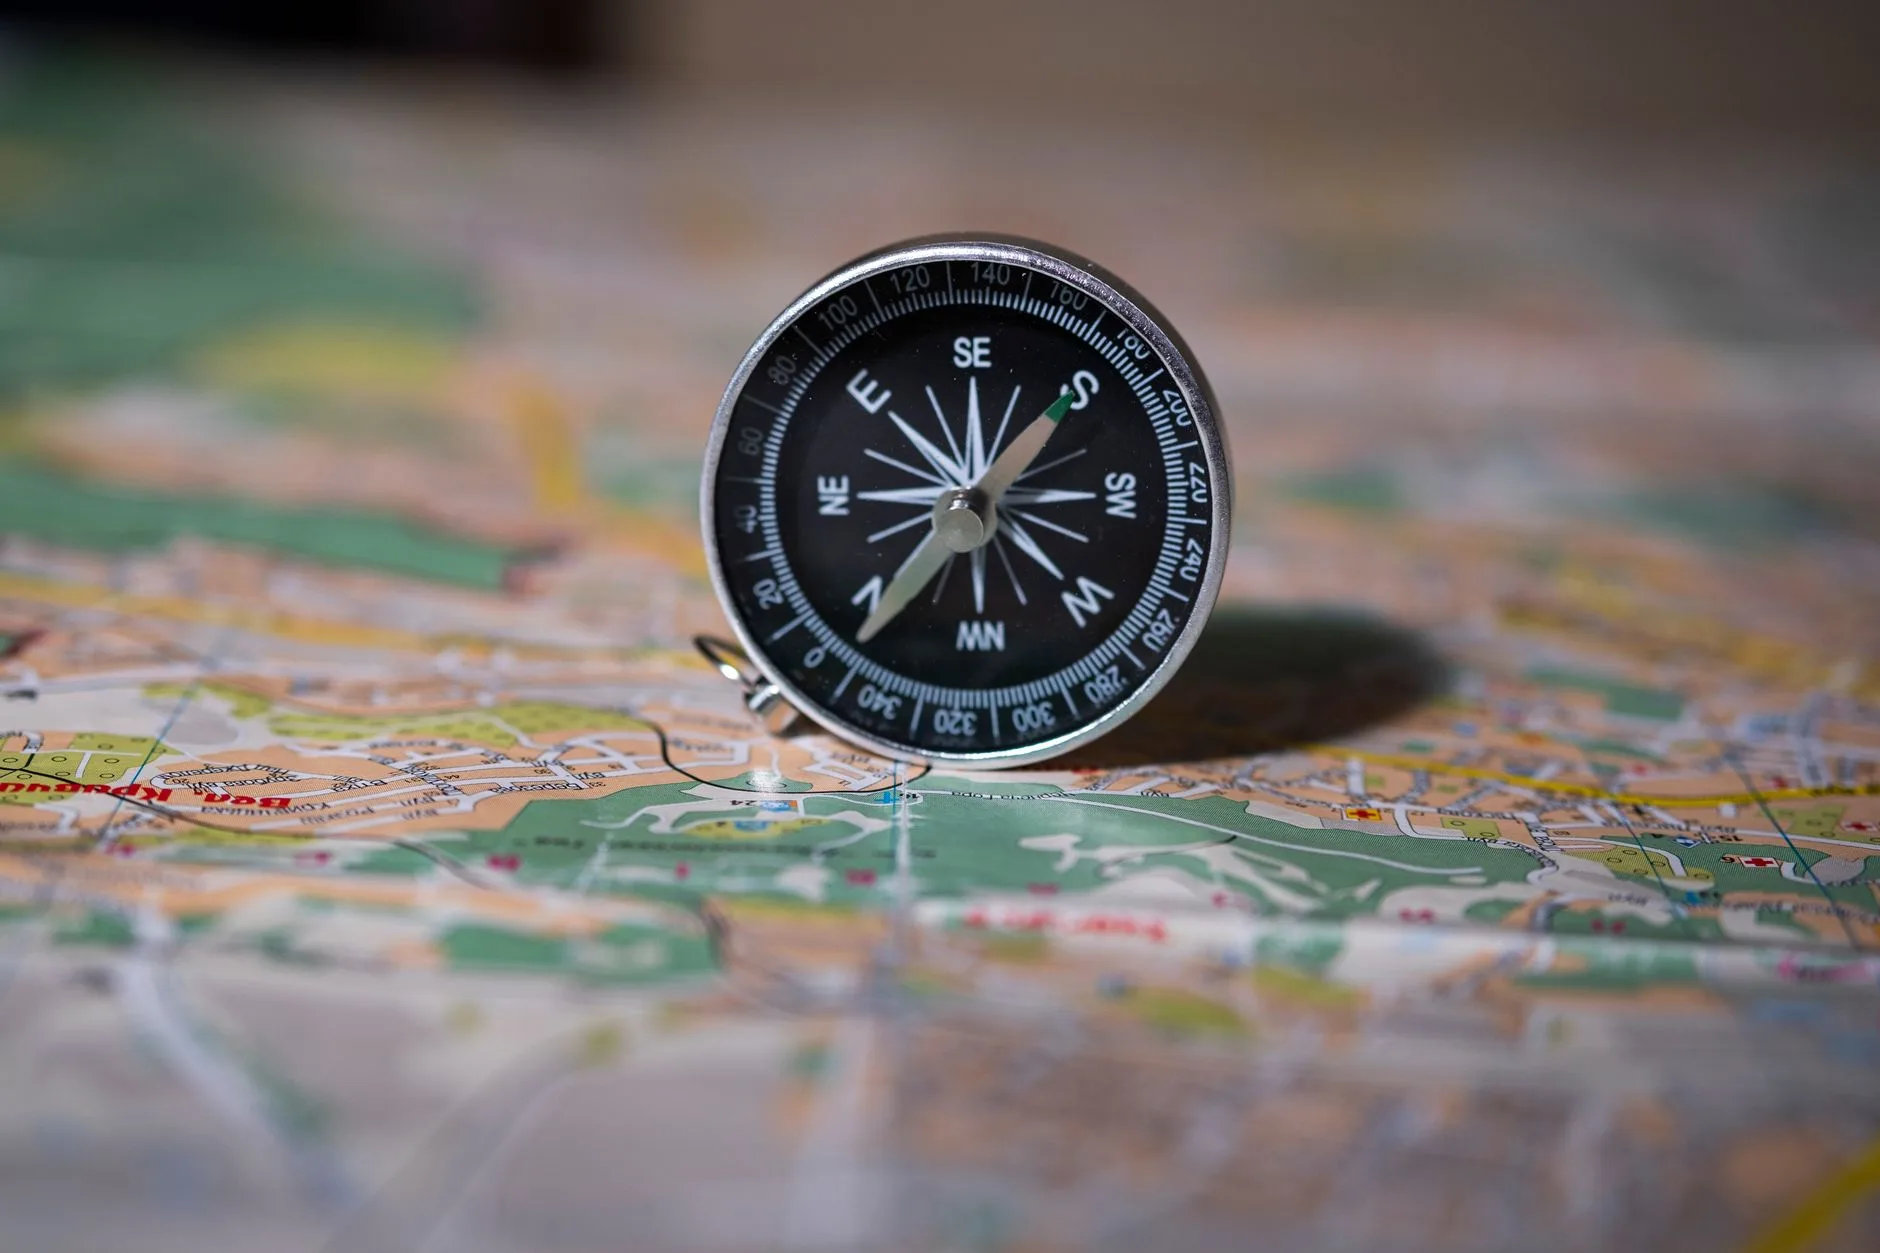
Maps are awkward in a kayak. They flap, get wet, slide under deck lines and become unreadable if you try to unfold a giant sheet in wind. The trick is preparing the map before you leave shore.
Choose the Right Map
For canals and gentle rivers, a waterway guide or route map may be enough. Canal & River Trust downloadable guides are free for many waterways. For walking-style inland navigation, an Ordnance Survey Explorer map costs about £10-13 in paper form, while OS Maps digital subscriptions are about £35 a year.
For coastal paddling, use an appropriate chart or chart-based app alongside local guidance. A printed Imray chart can cost about £22-30 depending on area. You do not always need a full chart for a short sheltered bay paddle, but you do need more than a screenshot of a car park.
Fold and Waterproof It Before Launch
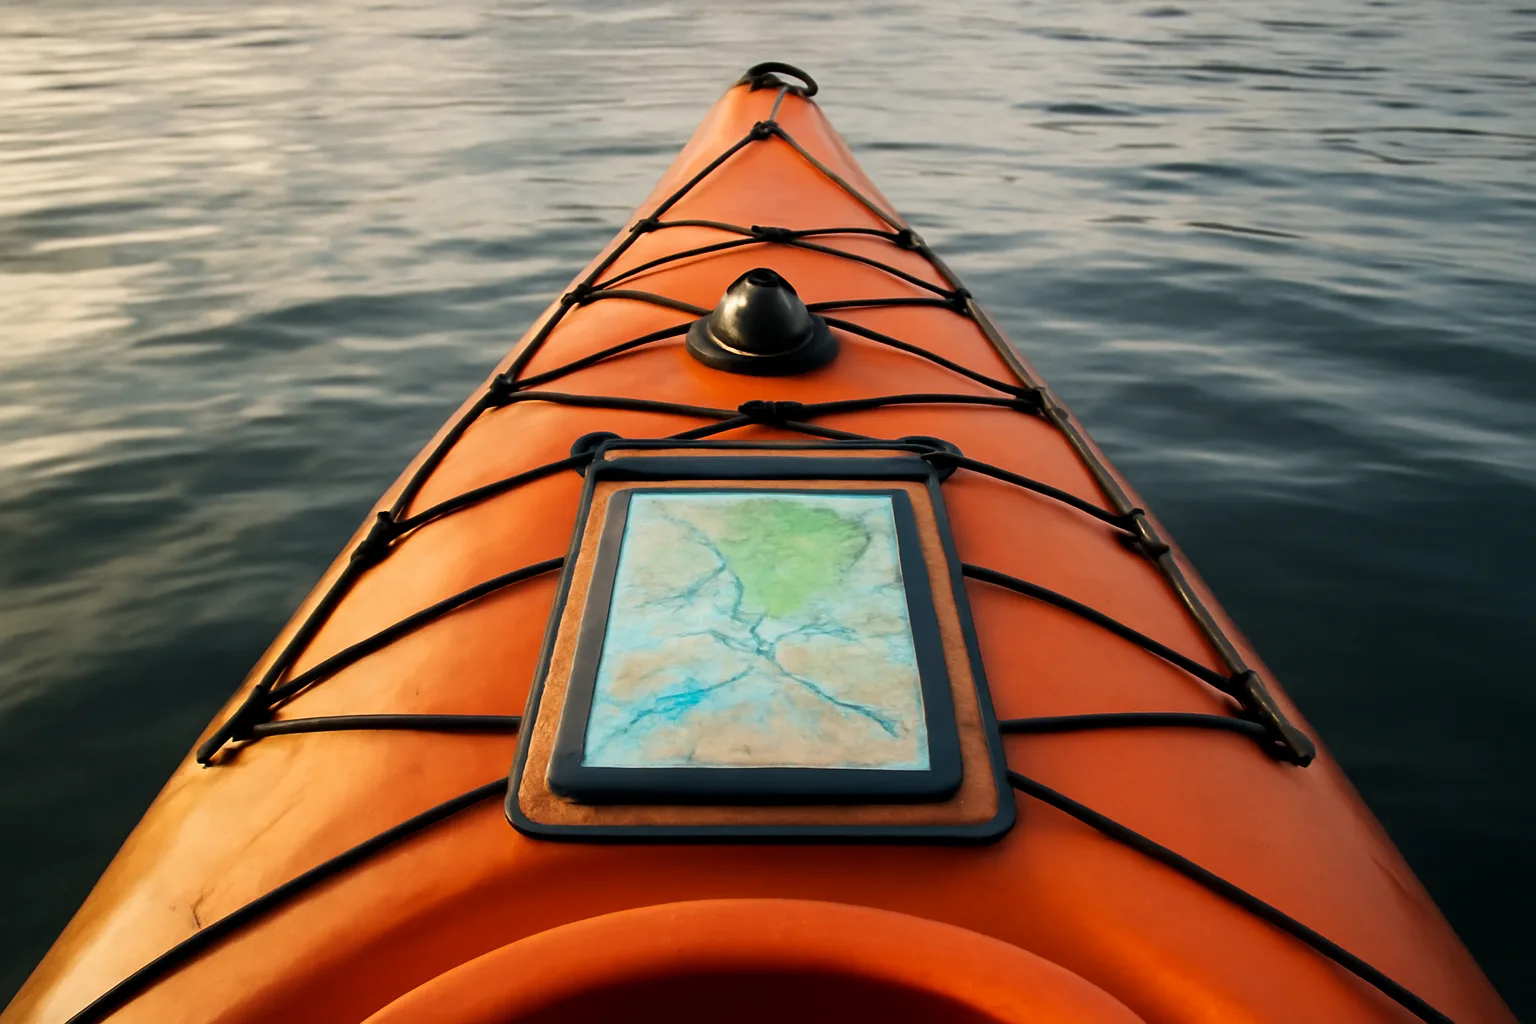
Only expose the section you need. Fold the map so your planned route, launch and exits are visible, then put it in a waterproof map case. A basic A4 waterproof map case costs about £10-18 from Decathlon, Go Outdoors or Amazon UK. A tougher Ortlieb-style case is usually £25-35.
Clip the case to your deck lines or buoyancy aid. If it is not attached, assume it will blow away at exactly the worst moment.
Read the Water Against the Map
Do not stare at the map constantly. Look up, match the shape of the bank, bridge, island, headland or marina to what the map shows, then paddle. On rivers and canals, bridge numbers, locks and bends are useful checkpoints. On lakes and coastal water, use headlands, bays, islands, piers and obvious buildings.
On a calm day, practise calling out your position every 10 minutes: “We are just before the second bridge”, “that bay on the left is the one after the wooded point”, or “we have passed the marina and the exit is the next beach”. It sounds basic. It works.
How to Use a Compass Without Making It Complicated
You do not need to do advanced navigation maths for most paddling. You need enough compass skill to hold a direction, check a crossing and avoid drifting towards the wrong shore.
Handheld Compass vs Deck Compass
A small baseplate compass costs about £15-30. A Silva Expedition or similar is around £30-45 and is more than enough for learning. A kayak deck compass costs about £45-90 and is easier to read while paddling, especially on sea kayaks with deck fittings.
For inflatable kayaks and sit-on-tops, a handheld compass in your buoyancy aid pocket is usually more practical than trying to mount a permanent deck compass. Keep it on a lanyard. Dropped kit in deep water is no longer kit.
Use Bearings as Direction Checks
A bearing is simply a direction. If you know the beach is roughly east, the compass stops you gradually drifting north while chatting. If you are crossing a wide lake in mist or poor visibility, a bearing keeps the bow pointed towards the intended shore.
For most beginner kayak navigation, use simple bearings like this:
- Find the direction from your current point to the target on the map.
- Set or note that bearing on the compass.
- Pick a visible landmark in that direction if there is one.
- Paddle towards the landmark, checking the compass every few minutes.
- If wind or current pushes you sideways, correct early rather than making a big late turn.
The mistake is staring down at the compass and wobbling all over the place. Use it to confirm direction, then paddle normally.
Transits Are Your Friend
A transit is when two fixed objects line up, such as a church tower behind a buoy or a mast behind a headland. If they stay lined up, you are holding the same line. If they separate, you are moving sideways.
Transits are brilliant from a kayak because they are simple and visual. They also teach you to notice drift. On tidal or windy water, drift is often the thing that surprises newer paddlers most.
Phone GPS, Watches and Handheld Units
Electronics are useful. Pretending they are not would be silly. The problem is treating them as the whole navigation system.
Phone Apps
A phone in a waterproof pouch can show your live position, track distance and help you find the launch again. The budget version is a £10-20 waterproof phone pouch from Decathlon, Go Outdoors or Amazon UK. A tougher Aquapac case is usually £30-45.
Good phone habits matter:
- Download offline maps before leaving home.
- Start with a full battery and close battery-draining apps.
- Keep the phone attached to your buoyancy aid or deck, not loose in a hatch.
- Do not unlock it constantly with wet hands unless the case works well.
For casual inland paddles, a phone may be enough if the route is simple and you also understand the map. For exposed coastal paddles, treat it as one tool, not the emergency plan.
GPS Watches
A GPS watch is handy because it stays on your wrist and gives distance, speed and track without digging out a phone. Garmin Forerunner models start around £150-250, while more rugged Garmin Instinct or Fenix watches range from about £220 to £600. Apple Watch models can track paddling too, but battery life and wet-screen use are more limiting on longer days.
The watch is most useful for pacing: “we have covered 3km in 50 minutes”, “we are moving at 3km/h into wind”, or “we are drifting off the planned line”. It is less useful for detailed map reading on a tiny screen.
Handheld GPS
A handheld GPS such as a Garmin eTrex costs about £180-300, with higher-end marine units costing more. They are tougher than phones, easier to use with wet hands and better for saved routes and waypoints. They still need batteries, setup and practice.
I would not tell a beginner to buy a handheld GPS before buying a proper buoyancy aid, dry bag, map case and compass. If you are doing longer sea or remote loch trips, it becomes more sensible.
Navigation Kit Checklist and UK Costs
Navigation kit should be boring and reachable. If it lives at the bottom of a dry bag behind your lunch, you will not use it when the wind gets up.
The Sensible Starter Kit
For sheltered UK kayaking, start with:
- Printed map or route guide — free to £13 for most inland trips.
- Waterproof map case — £10-35.
- Small compass — £15-45.
- Waterproof phone pouch — £10-45.
- Power bank in a dry bag — £15-35.
- Whistle and light — often included with a buoyancy aid, or £5-20 separately.
That is about £55-190 depending on how much you already own. Spend the money on kit you can operate cold and wet, not just kit that looks good in a product photo.
Extra Kit for Coastal or Remote Trips
For sea kayaking, remote Scottish lochs or longer exposed crossings, consider:
- Deck compass — £45-90.
- Handheld VHF radio — £90-180, plus licence/training requirements depending on use.
- Personal locator beacon — £220-300 for serious remote use.
- Sea kayak navigation course — often £70-150 for a day with a UK provider.
PaddleGeek has a separate guide on VHF radios for paddlers. Navigation and communication overlap, but they are not the same thing: navigation helps you avoid the problem; communication helps when the problem is already happening.
Where to Keep It
Map on deck. Compass attached. Phone attached. Emergency communication attached to you, not the boat. If you capsize and the kayak blows away, anything only attached to the kayak may leave with it.
This is also why a clean launch and landing routine matters. The PaddleGeek guide to launching and landing a kayak safely covers that practical side, including where beginners tend to fumble kit.
Common Kayak Navigation Mistakes
Most navigation mistakes are small at first. The danger is letting three small mistakes stack up: late start, wind stronger than expected, phone battery low, and suddenly the return is harder than planned.
Mistake: Following the Blue Dot Without Looking Up
GPS is seductive because it feels precise. But if you only watch the dot, you stop learning the landscape. You also miss obvious clues: wind lines on the water, a headland that looks different up close, a bridge you should have passed 20 minutes ago.
Use the dot as confirmation. The map and real world should still make sense.
Mistake: Not Having a Turnaround Time
Set a turnaround time before launching. If you planned to turn at 11:30, turn at 11:30 unless conditions are easier than expected and everyone agrees. Do not keep adding “just another 10 minutes” until the return becomes a slog.
This matters even more on tidal water, where the return window may close. Again, use the dedicated tidal kayak navigation article for that detail.
Mistake: Trusting a Phone in a Cheap Pouch You Have Never Tested
Some £10 pouches are fine. Some are awful: hard to unlock, mist up inside, or leak after the seal gets sand in it. Test yours in the sink with tissue paper before trusting it on the water. Then test whether you can use the screen with wet hands.
Mistake: Planning a Route That Has No Easy Exit
A beautiful route with no exit options is a poor beginner route. Pick water with choices: beaches, pontoons, low banks, club landings, slipways or sheltered bays. PaddleGeek’s best kayaking spots in the UK article is useful for ideas, but still check local access and conditions before travelling.
Mistake: Leaving the Map in the Car
This one is embarrassingly common. People plan properly, then leave the paper map or route notes on the passenger seat because the phone has the route. Put the map case in the boat before loading anything else. No judgement; the car-seat map has caught plenty of people out.
Frequently Asked Questions
Do I need a map and compass for kayaking? For short sheltered paddles, you may only need a simple route map and phone backup. For sea kayaking, large lakes, remote rivers or poor visibility, a map and compass are sensible safety kit.
Can I just use my phone for kayak navigation? You can use a phone as a GPS aid, but it should not be your only plan. Batteries die, waterproof pouches fail and screens are awkward with wet hands, so carry at least a basic map and compass for anything beyond a simple local paddle.
What compass is best for kayaking? A £15-45 baseplate compass is fine for learning and sheltered paddles. Sea kayakers often prefer a £45-90 deck compass because it is easier to read while paddling and holding a course.
How much does kayak navigation kit cost in the UK? A practical starter setup costs about £55-190: map or guide, waterproof map case, compass, phone pouch and power bank. Coastal kit with deck compass, VHF or PLB can add £150-500+.
How do I avoid getting lost in a kayak? Plan the route before launching, mark exit points, set a turnaround time, keep checking landmarks, and use GPS only to confirm what the map and water already tell you.
Is GPS accurate enough for kayaking? GPS is usually accurate enough for position checks, but accuracy is not the whole issue. You still need battery, waterproofing, signal, screen visibility and a route plan that makes sense without electronics.