Staying upright in rough water is mostly about reacting early, keeping your head calm, and using the paddle as a momentary support rather than a crutch. The bracing strokes kayak technique that matters most is not a big slap at the water; it is a quick blade placement, a hip snap, and a relaxed recovery before the wobble becomes a swim.
In This Article
- What a Brace Is Actually For
- Low Brace vs High Brace: Which One to Use
- Body Position Before the Paddle Hits the Water
- How to Practise a Low Brace Safely
- How to Practise a High Brace Without Hurting Your Shoulder
- Bracing Strokes Kayak Technique in Chop, Current and Boat Wash
- Kit and Common Mistakes That Change Your Brace
- Frequently Asked Questions
What a Brace Is Actually For
A brace is a recovery stroke. It gives you half a second of support while your hips bring the kayak back underneath you. If you treat it as a way to lean on the paddle, you will either sink the blade, stall the boat, or load your shoulder in a way it will not thank you for.
That distinction matters because bracing sits between ordinary strokes and full capsize recovery. Paddle strokes move the kayak. A brace catches a wobble. A wet exit or re-entry deals with the moment after the brace has failed. PaddleGeek already has separate guides to basic kayak strokes, kayak edging, and re-entering after a capsize; this article is about the bit just before you go over.
The Three Parts of a Good Brace
Every reliable brace has the same three parts:
- Blade support: the paddle blade lands flat enough on the water to create temporary resistance.
- Hip recovery: your lower body snaps or rolls the kayak back under you while your head stays low.
- Clean exit: the blade slices or lifts out before it dives and pulls you down.
The blade is the least important of the three, which sounds odd until you practise it. Beginners tend to make the paddle the hero. Better paddlers use the paddle as a trigger for the hip movement. On sheltered water, you can feel this by letting the kayak edge gently, placing the blade, and deliberately bringing the boat upright with your knee and hip rather than your arms.
Why Rough Water Exposes Weak Bracing
Flat-water bracing drills are tidy. Real rough water is not. Chop hits at odd angles, current grabs the hull, and boat wash can lift one side of a touring kayak before you have processed what is happening. That is why the best brace is usually the early one. Catch the wobble while the kayak is only slightly edged and you can recover with a small movement. Wait until your shoulder is near the water and the brace becomes harder, riskier, and less likely to work.
For UK paddlers, the safety context matters as much as the stroke. The Canal & River Trust tells paddlers to wear a buoyancy aid or life jacket and check local waterway rules before setting out, which is boring advice right up to the moment you miss a brace near a weir or moored boat. You can read their paddling safety advice here: Canal & River Trust canoeing safely guidance.
Low Brace vs High Brace: Which One to Use
The low brace is the one most recreational paddlers should practise first. It keeps the paddle lower, the elbows safer, and the recovery smaller. The high brace has its place, especially when the kayak is already more committed to the capsize side, but it is easier to misuse and can load the shoulder badly if you let the hands drift high and wide.
Low Brace
In a low brace, the back face of the paddle blade presses against the water. Your elbows are above the shaft, your knuckles are low, and the stroke feels a little like doing a quick press-up on the surface. The paddle should be close to the kayak rather than reaching far out to the side.
Use a low brace when:
- The wobble is early: you feel the boat tip but are not yet falling hard.
- The water is bouncy rather than violent: lake chop, small river boils, and passing boat wash are typical examples.
- You want the safest repeatable habit: low braces are kinder to shoulders when practised properly.
If I were teaching a nervous beginner on flat water, I would spend more time on the low brace than any other recovery stroke. It builds confidence without encouraging dramatic leaning.
High Brace
In a high brace, the power face of the blade supports you. Your elbows stay low and in front of your body, and the paddle shaft is higher than in a low brace. The risk is letting the elbow climb behind the shoulder while the blade is loaded. That position is where a useful stroke becomes a bad idea.
Use a high brace when the kayak has tipped further than a low brace can comfortably catch, or when whitewater, surf, or a steep wave face demands a stronger moment of support. Keep it compact. If your hand is above your head, you are not doing yourself any favours.
The Simple Decision Rule
For most touring and recreational paddling, start with this:
- Small wobble: low brace.
- Big lean but still recoverable: compact high brace.
- You are already upside down: stop bracing and move to your roll, wet exit, or assisted rescue plan.
That last point saves a lot of thrashing. Once the kayak has gone past the point of recovery, a desperate brace just delays the inevitable and can leave you tangled or tired.
Body Position Before the Paddle Hits the Water
The paddle blade gets the attention, but body position decides whether the brace works. A strong blade with stiff hips is just a noisy splash. A modest blade with a relaxed lower body can feel almost unfairly easy.
Keep Your Head Late
The instinct is to lift your head first. Fight it. Your head is heavy, and lifting it early pulls the kayak back towards the capsize side. In a good brace, the kayak comes upright first, your torso follows, and your head comes up last.
A useful dry-land cue is “ear to shoulder, then eyes up”. When you edge the kayak and place the brace, let the head stay low towards the support side while your knee and hip bring the hull underneath you. Only once the boat is stable do you sit tall again.
Use Knees and Hips, Not Biceps
Closed-cockpit kayaks reward lower-body control. Your thigh or knee lifts against the brace point inside the cockpit, your opposite hip relaxes, and the boat rolls back beneath you. Sit-on-top kayaks and wide recreational boats give less contact, so the movement is more subtle, but the principle is the same: the boat moves first, your upper body follows.
This is where a good boat fit helps. A loose cockpit can make bracing feel vague because you cannot transmit the hip snap cleanly. Foam hip pads or adjusted thigh braces are cheap fixes compared with buying a new kayak. Expect to pay around £15-£35 for foam outfitting pieces from UK paddlesport shops, or more if a coach or shop fits them for you.
Keep the Paddle Close
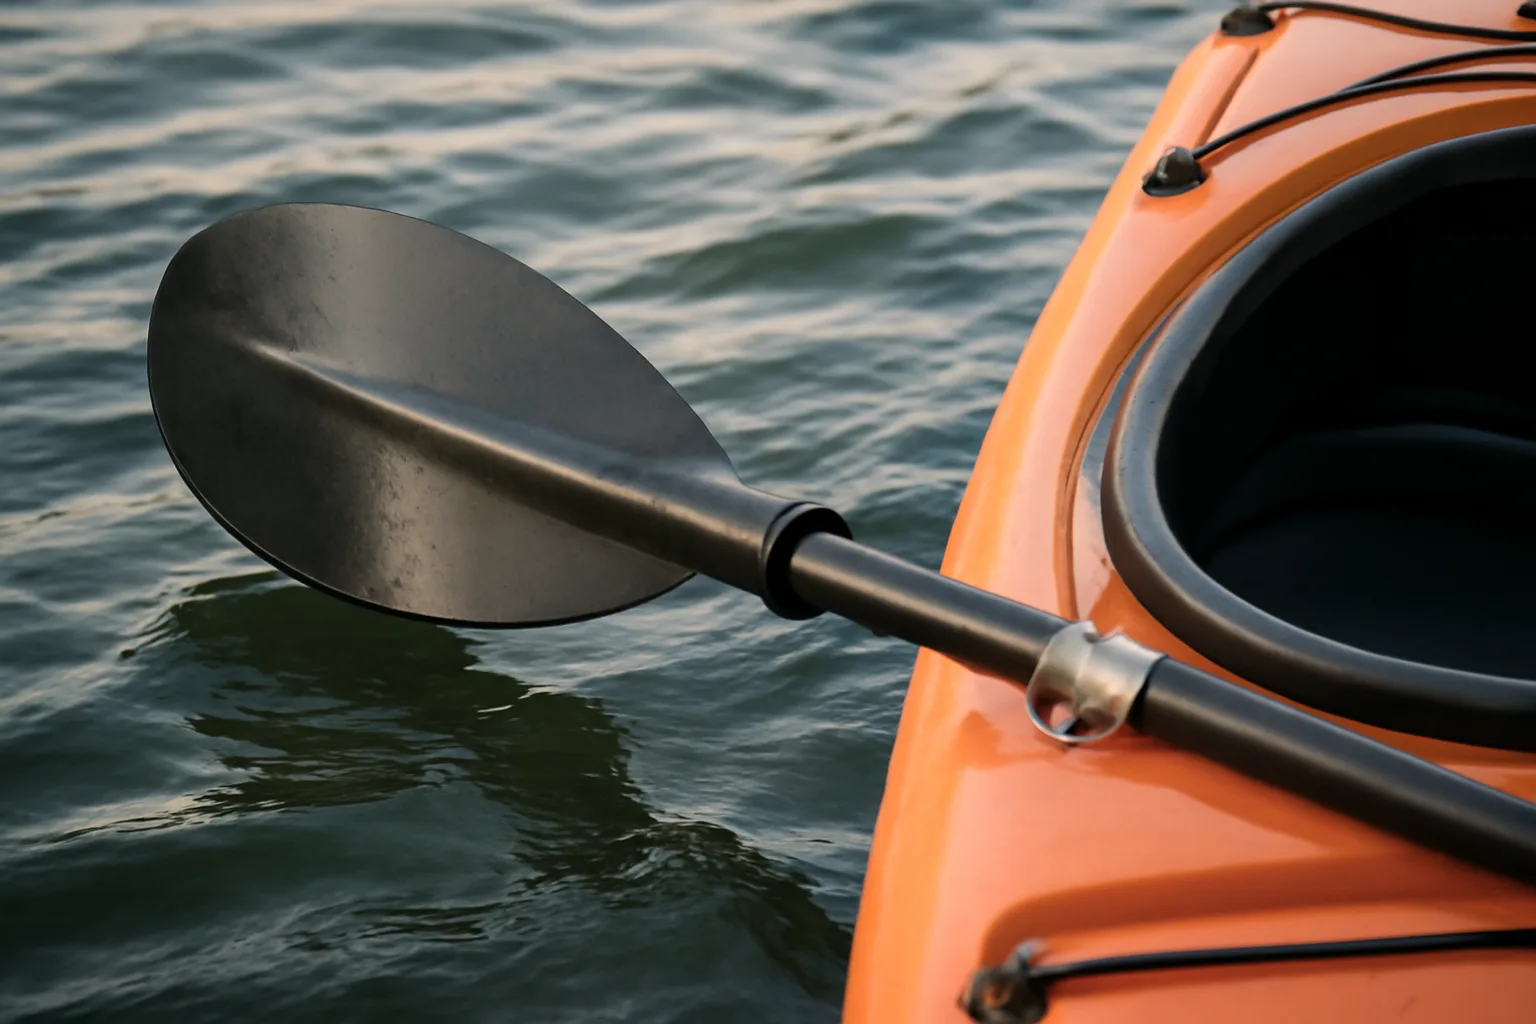
Reaching far out feels safer because the blade is further from the boat. It is not. A long reach turns the brace into a lever against your shoulder and slows the recovery. Keep the blade just outside the kayak, with your hands in front of your body and your elbows controlled.
If you already know your kayak paddle grip is too wide or tense, fix that first. Bracing with a death grip makes the blade dive and stops you feathering it out smoothly.
How to Practise a Low Brace Safely
Practise the low brace somewhere dull. That means warm-ish sheltered water, no current, no traffic, and a paddling partner close enough to help. The goal is not to prove bravery; it is to build a repeatable reflex.
Start with Static Slaps
Sit upright, hold the paddle low in front of you, and slap the back face of one blade flat on the water. Do not lean yet. Just learn the blade angle. If the blade dives, your wrist angle is wrong. If it skims without support, it is too vertical.
Do ten on each side. Then edge the kayak a few centimetres and use the blade to pause the movement. Keep your head low and bring the boat back with your hip.
Add a Gentle Lean
Once the blade angle feels reliable, edge the kayak a little further. Think of it as leaning the boat, not throwing your body sideways. Place the low brace, snap the kayak back under you, and recover the blade by slicing it out.
Use one continuous practice block:
- Edge the kayak slightly: keep your eyes level and your paddle ready.
- Place the blade flat: back face on the water, close to the hull.
- Drive with the hip: bring the kayak upright before lifting your head.
- Slice the blade out: avoid pushing down until it sinks.
- Reset calmly: breathe, swap sides, and repeat.
Ten clean braces are more useful than fifty panicked ones. If the movement starts to feel frantic, stop and reset.
Practise Both Sides
Most paddlers have a favourite brace side. Rough water does not care. If you always brace on the right, the awkward wobble will eventually arrive on the left. Spend extra time on the weaker side until it feels merely annoying rather than alien.
This is also where a coach earns their money. A local club session may be free or a few pounds for members, while a formal beginner or improver kayaking lesson in the UK often sits around £30-£95 depending on location and equipment. That is cheap compared with ingraining a shoulder-yanking brace for a whole season.
How to Practise a High Brace Without Hurting Your Shoulder
The high brace is useful, but it deserves respect. The danger is not the water; it is the position you put your shoulder in under load. Keep the elbows in front of your torso, keep the hands below eye level, and avoid reaching behind you.
Build It from a Supported Lean
Start in very sheltered water with a helper holding your bow or standing nearby. Edge the kayak towards one side, place the power face of the blade on the water, and bring the kayak back with your hips. Keep the movement small at first.
The high brace should feel compact. If it feels like a huge sweeping rescue stroke, you are probably too late or too extended.
Protect the Shoulder Box
Think of a rectangle in front of your chest: hands inside it, elbows soft, paddle in view. Once your elbow drifts high and behind your shoulder, the brace is no longer in the safe working area. Drop the paddle, tuck forward, or move into your capsize plan rather than fighting from a weak position.
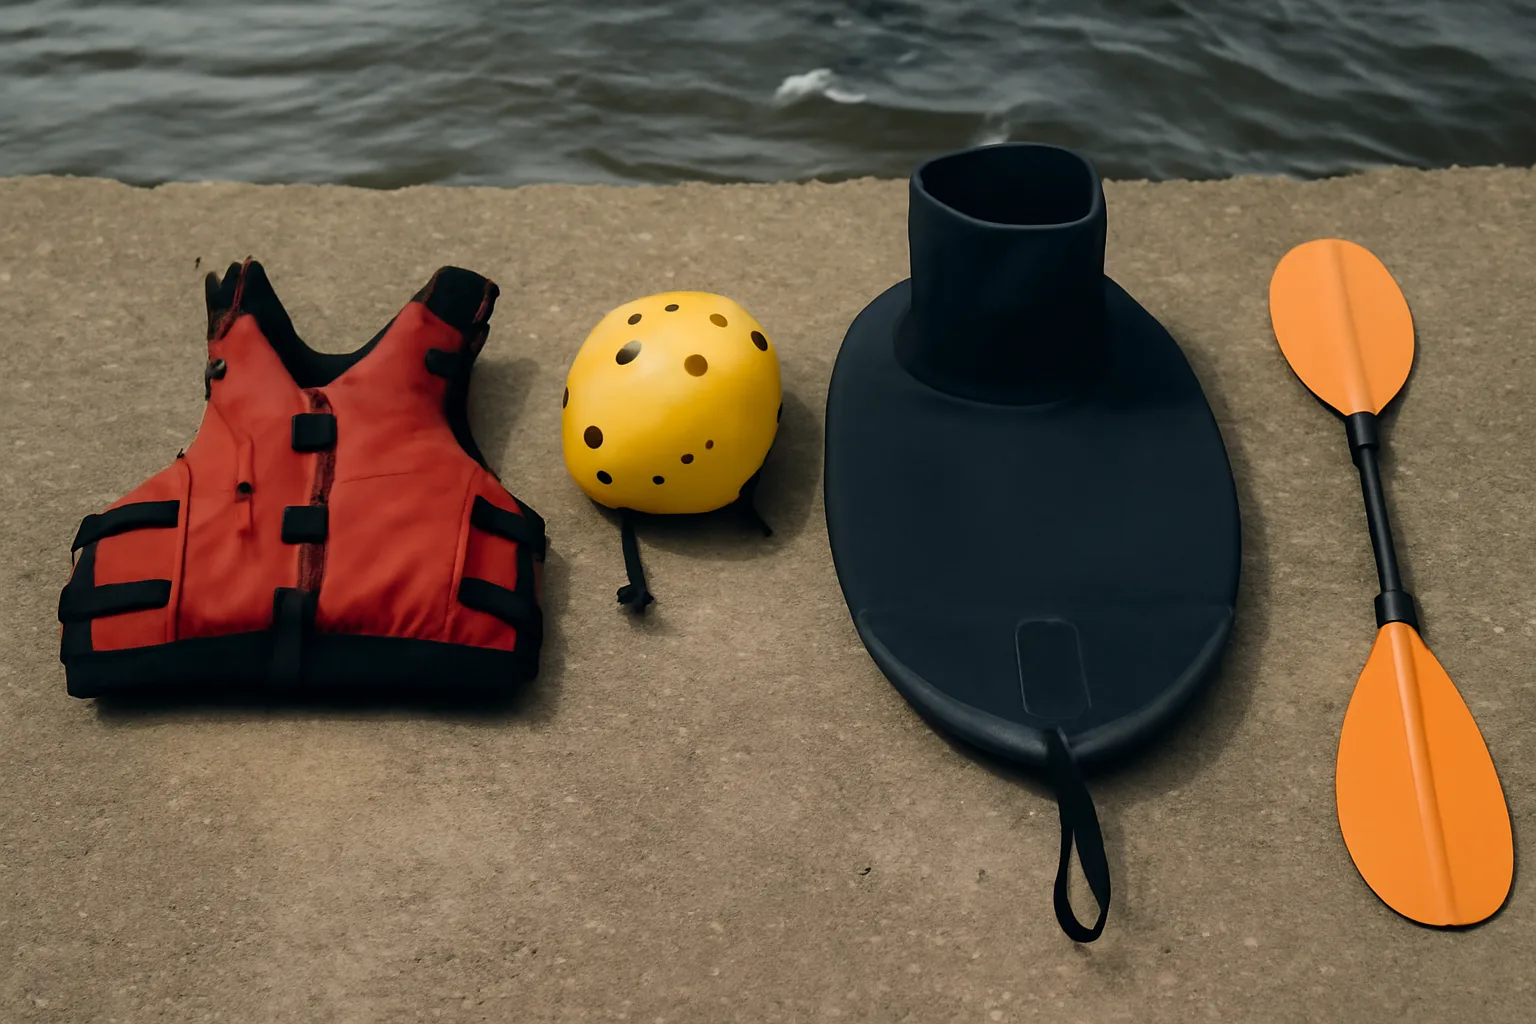
This is one reason whitewater helmets and buoyancy aids are not just “serious paddler” theatre. If you are practising high braces near rocks, surf, or moving water, proper kit changes the risk profile. A Palm AP4000 helmet is about £48, a Palm Shuck 2.0 is roughly £110-£129, and a low-profile whitewater buoyancy aid such as the NRS Ninja is usually about £119-£140 from UK kayak retailers. Budget Decathlon-style 50N buoyancy aids around £44 can suit gentle sheltered paddling, but rougher water is where fit, shoulder movement, and secure adjustment become more important.
Know When Not to High Brace
Do not high brace to save every mistake. If the water is shallow, rocky, or fast, a forced high brace can put your shoulder and head in the wrong place. If you cannot keep the paddle compact, tuck forward and protect yourself. A missed brace is frustrating. A shoulder injury can ruin the season.
RoSPA’s public watersports safety advice also makes the fit point clearly: a buoyancy aid that is too big can ride up around your ears in the water and make recovery harder, not easier. Their guidance is here: RoSPA watersports safety advice.
Bracing Strokes Kayak Technique in Chop, Current and Boat Wash
Flat-water practice gives you the movement. Rough water teaches timing. The same bracing strokes kayak technique has to adapt depending on what is making the boat unstable.
Chop
In short wind chop, brace early and lightly. Keep paddling rather than freezing between waves. A forward stroke with a supportive blade angle is often better than a separate dramatic brace because it maintains speed and keeps the kayak responsive.
If the chop is hitting from the side, edge the kayak slightly into the wave and keep your torso loose. Stiff paddlers get knocked around. Loose paddlers let the boat move underneath them.
Current Lines
On rivers, the wobble often arrives when crossing an eddy line or moving from slow water into faster flow. Look where you want to go, edge deliberately, and prepare the downstream blade. If the boat twitches, a low brace on the active side can stop the edge collapsing.
This overlaps with paddling into wind and current, but the bracing point is narrower: do not wait until the current has spun the kayak sideways before reacting. Anticipate the unstable moment and have the blade ready.
Boat Wash
Boat wash is sneaky on canals, estuaries, and busy lakes. The first wave lifts you, the second catches you while you are relaxing, and the rebound off a bank can arrive from an unexpected angle. Turn the kayak to meet larger wash at a sensible angle where you can, keep loose hips, and use small low braces rather than one heroic slap.
If you are in a sit-on-top or very wide recreational kayak, you may not need a textbook brace as often, but the same instinct helps: blade ready, head calm, boat underneath you.
Kit and Common Mistakes That Change Your Brace
Better kit will not replace practice, but badly chosen kit can make bracing harder than it needs to be. The most useful upgrades are the ones that improve movement, contact, and confidence.
Buoyancy Aid
A buoyancy aid should let your shoulders rotate freely and stay put when you are in the water. For gentle canals and sheltered lakes, a basic 50N paddlesport buoyancy aid at about £40-£55 can be fine if it fits properly. For rougher river or sea-kayak practice, I would rather spend more on a snug paddling-specific vest such as a Palm Riff at about £118-£139 or an NRS Ninja at roughly £119-£140.
The key test is simple: tighten it, lift the shoulder straps, and see whether it rides up towards your ears. If it does, it will feel worse when you miss a brace and end up swimming.
Spray Deck
A spray deck helps a closed-cockpit kayak stay dry and connected, but it also changes the consequence of a failed brace. If you use one, you must be comfortable with a wet exit. Nylon touring decks can start around £37-£46, while neoprene Palm decks often sit from about £99 to £169 depending on model and retailer.
For bracing practice, avoid a deck that is so tight you panic about releasing it. Confidence matters. So does rehearsing the grab loop until finding it is automatic.
Paddle and Boat Fit
A lighter paddle makes repeated practice less tiring. You do not need a £350 carbon paddle to learn a brace, but a very heavy aluminium-shaft paddle can make the movement clumsy. Many decent touring paddles sit around £70-£160 in UK shops, with premium carbon options climbing well above £200.
Boat fit is more important than most beginners expect. If your knees float around inside the cockpit, the hip snap becomes guesswork. If the thigh braces bite painfully, you will tense up and avoid edging. Spend time adjusting footrests, seat position, and padding before blaming your technique.
Common Bracing Mistakes That Tip You In
Most failed braces are not mysterious. They are the same few mistakes, usually repeated under pressure.
Reaching too far: the further the blade is from the kayak, the more leverage it puts on your shoulder and the slower the recovery becomes. Keep the brace close. If you cannot reach support without stretching, you are probably too late.
Lifting the head first: this is the classic. The blade lands, the paddler tries to sit up with their head, and the kayak follows them into the water. Keep your head low until the boat has recovered. It feels wrong for the first few sessions, then it suddenly makes sense.
Pushing down too long: a brace is not a pole vault. Push down briefly and recover the blade before it sinks. If you keep pressing, the paddle dives and you follow it. Slice the blade out with a small wrist change and keep paddling.
Forgetting forward momentum: stationary kayaks feel less stable. In bouncy water, gentle forward movement often makes the boat easier to manage. That does not mean sprinting. It means keeping enough speed for the hull and paddle strokes to work with you.
Practising only when scared: rough water is the test, not the classroom. Practise on easy water until the low brace is dull, then add small chop, then mild current, then more complicated conditions with someone competent nearby. If the first serious brace you attempt is in cold moving water, you have left it late.
The bottom line: use the low brace as your default, keep the high brace compact, and make the hip recovery the real skill. Once that clicks, rough water feels less like a series of surprises and more like information you can respond to.
Frequently Asked Questions
What is the difference between a low brace and a high brace? A low brace uses the back face of the paddle with the shaft held low, while a high brace uses the power face with the shaft higher. The low brace is usually safer and better for early wobbles; the high brace is for bigger leans but needs stricter shoulder position.
Should beginners learn bracing before edging? Learn them together, but keep the drills simple. Edging teaches you how the kayak tips and recovers; bracing gives you support when that edge goes further than planned.
Can you brace in an inflatable kayak? Yes, but it feels different. Wide inflatable kayaks often have less cockpit contact, so the brace relies more on paddle support and body balance than a sharp hip snap.
Do I need a spray deck to practise bracing? No, but a spray deck makes closed-cockpit practice more realistic once you are comfortable with wet exits. Start without one if it helps you stay relaxed.
Is a high brace dangerous? A high brace can be risky if your elbow moves high, wide, or behind your shoulder under load. Keep it compact and in front of your body, and do not force it when you are already capsizing.
How long does it take to learn bracing strokes? Many paddlers can learn the basic movement in one coached session, but making it automatic in rough water takes repeated practice across both sides and different conditions.